 Loading... Please wait...
Categories
Our Newsletter
- Home
- How-To-Videos
- Polaris Transmission Repair
Polaris Transmission Repair
On this page we will go through the procedure to remove, disassemble, inspect, repair and reinstall a gearbox in a 2004 Polaris Ranger 4x4. The ranger came in to our shop with the high gear grinding and would not engage, our first step is to adjust the linkage as that can cause the problem. After adjusting the shift linkage the grinding still occurred. The next step is to remove the gearbox for internal inspection.
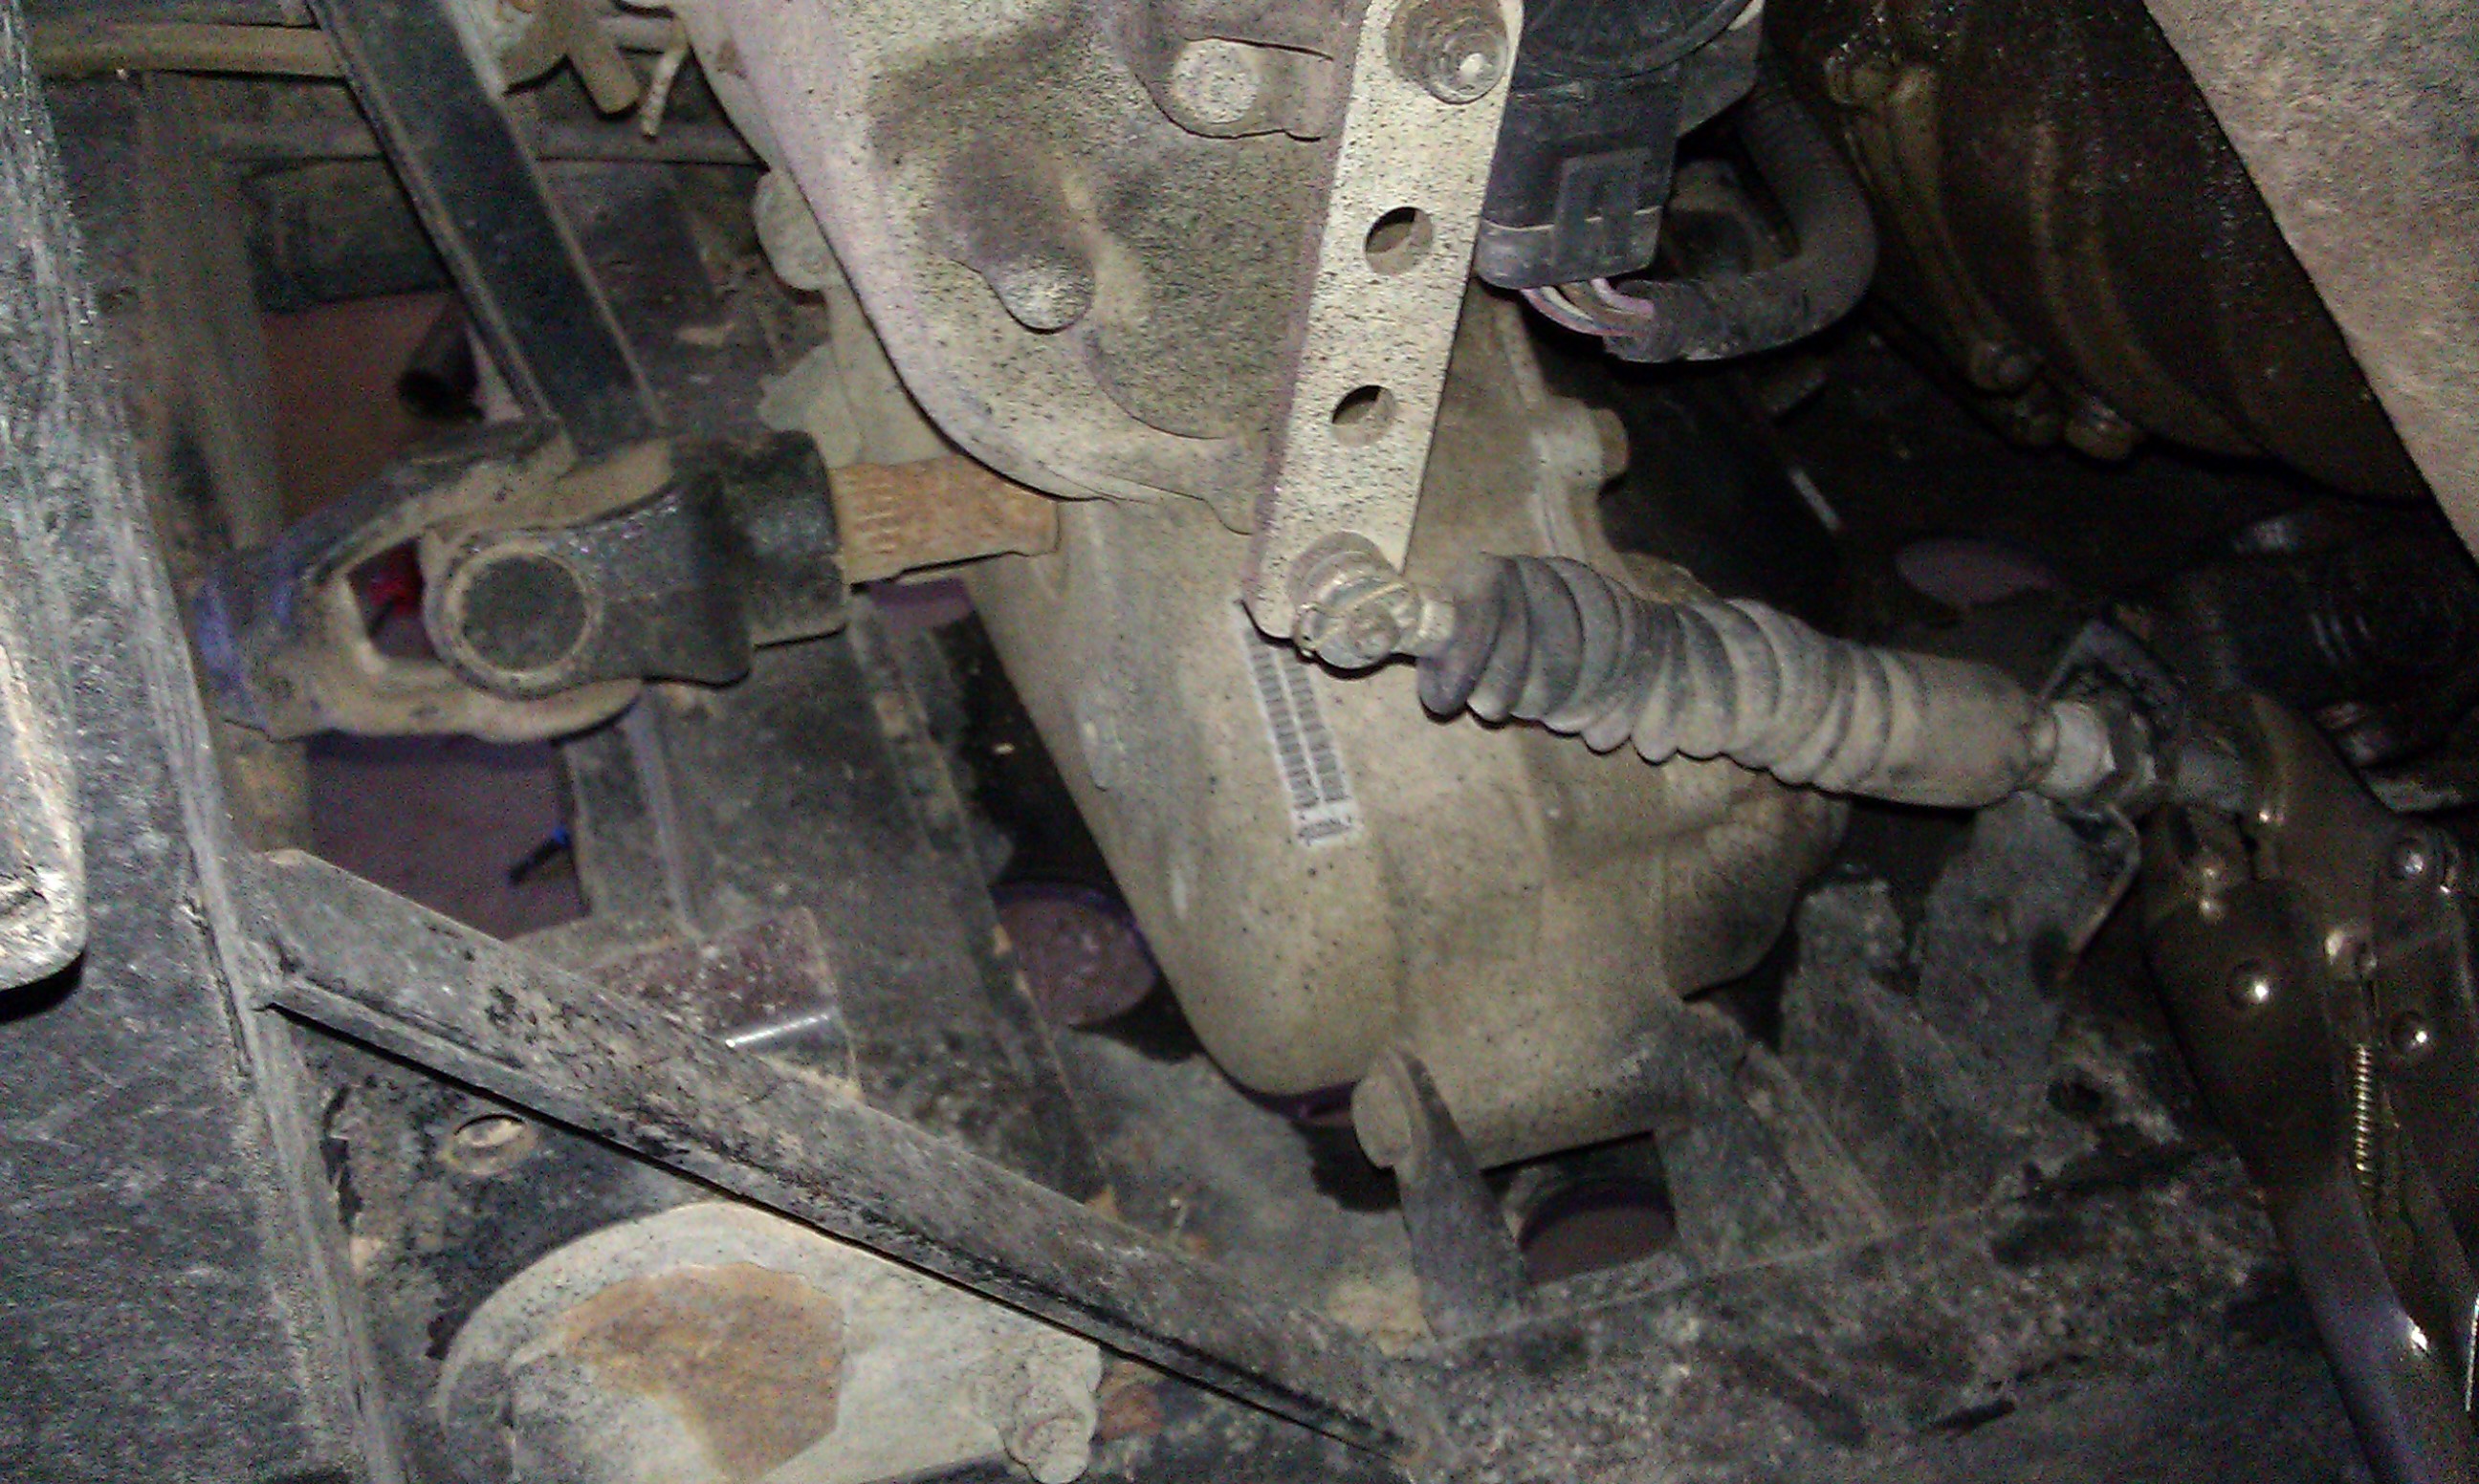 |
The shift linkage was adjusted with the two nuts on the cable housing, after that did not work the nuts were loosened and the housing was rotated 90 degrees to remove it from the mounting bracket. Then the clip holding the cable to the shift lever was removed and the cable moved to the side. |
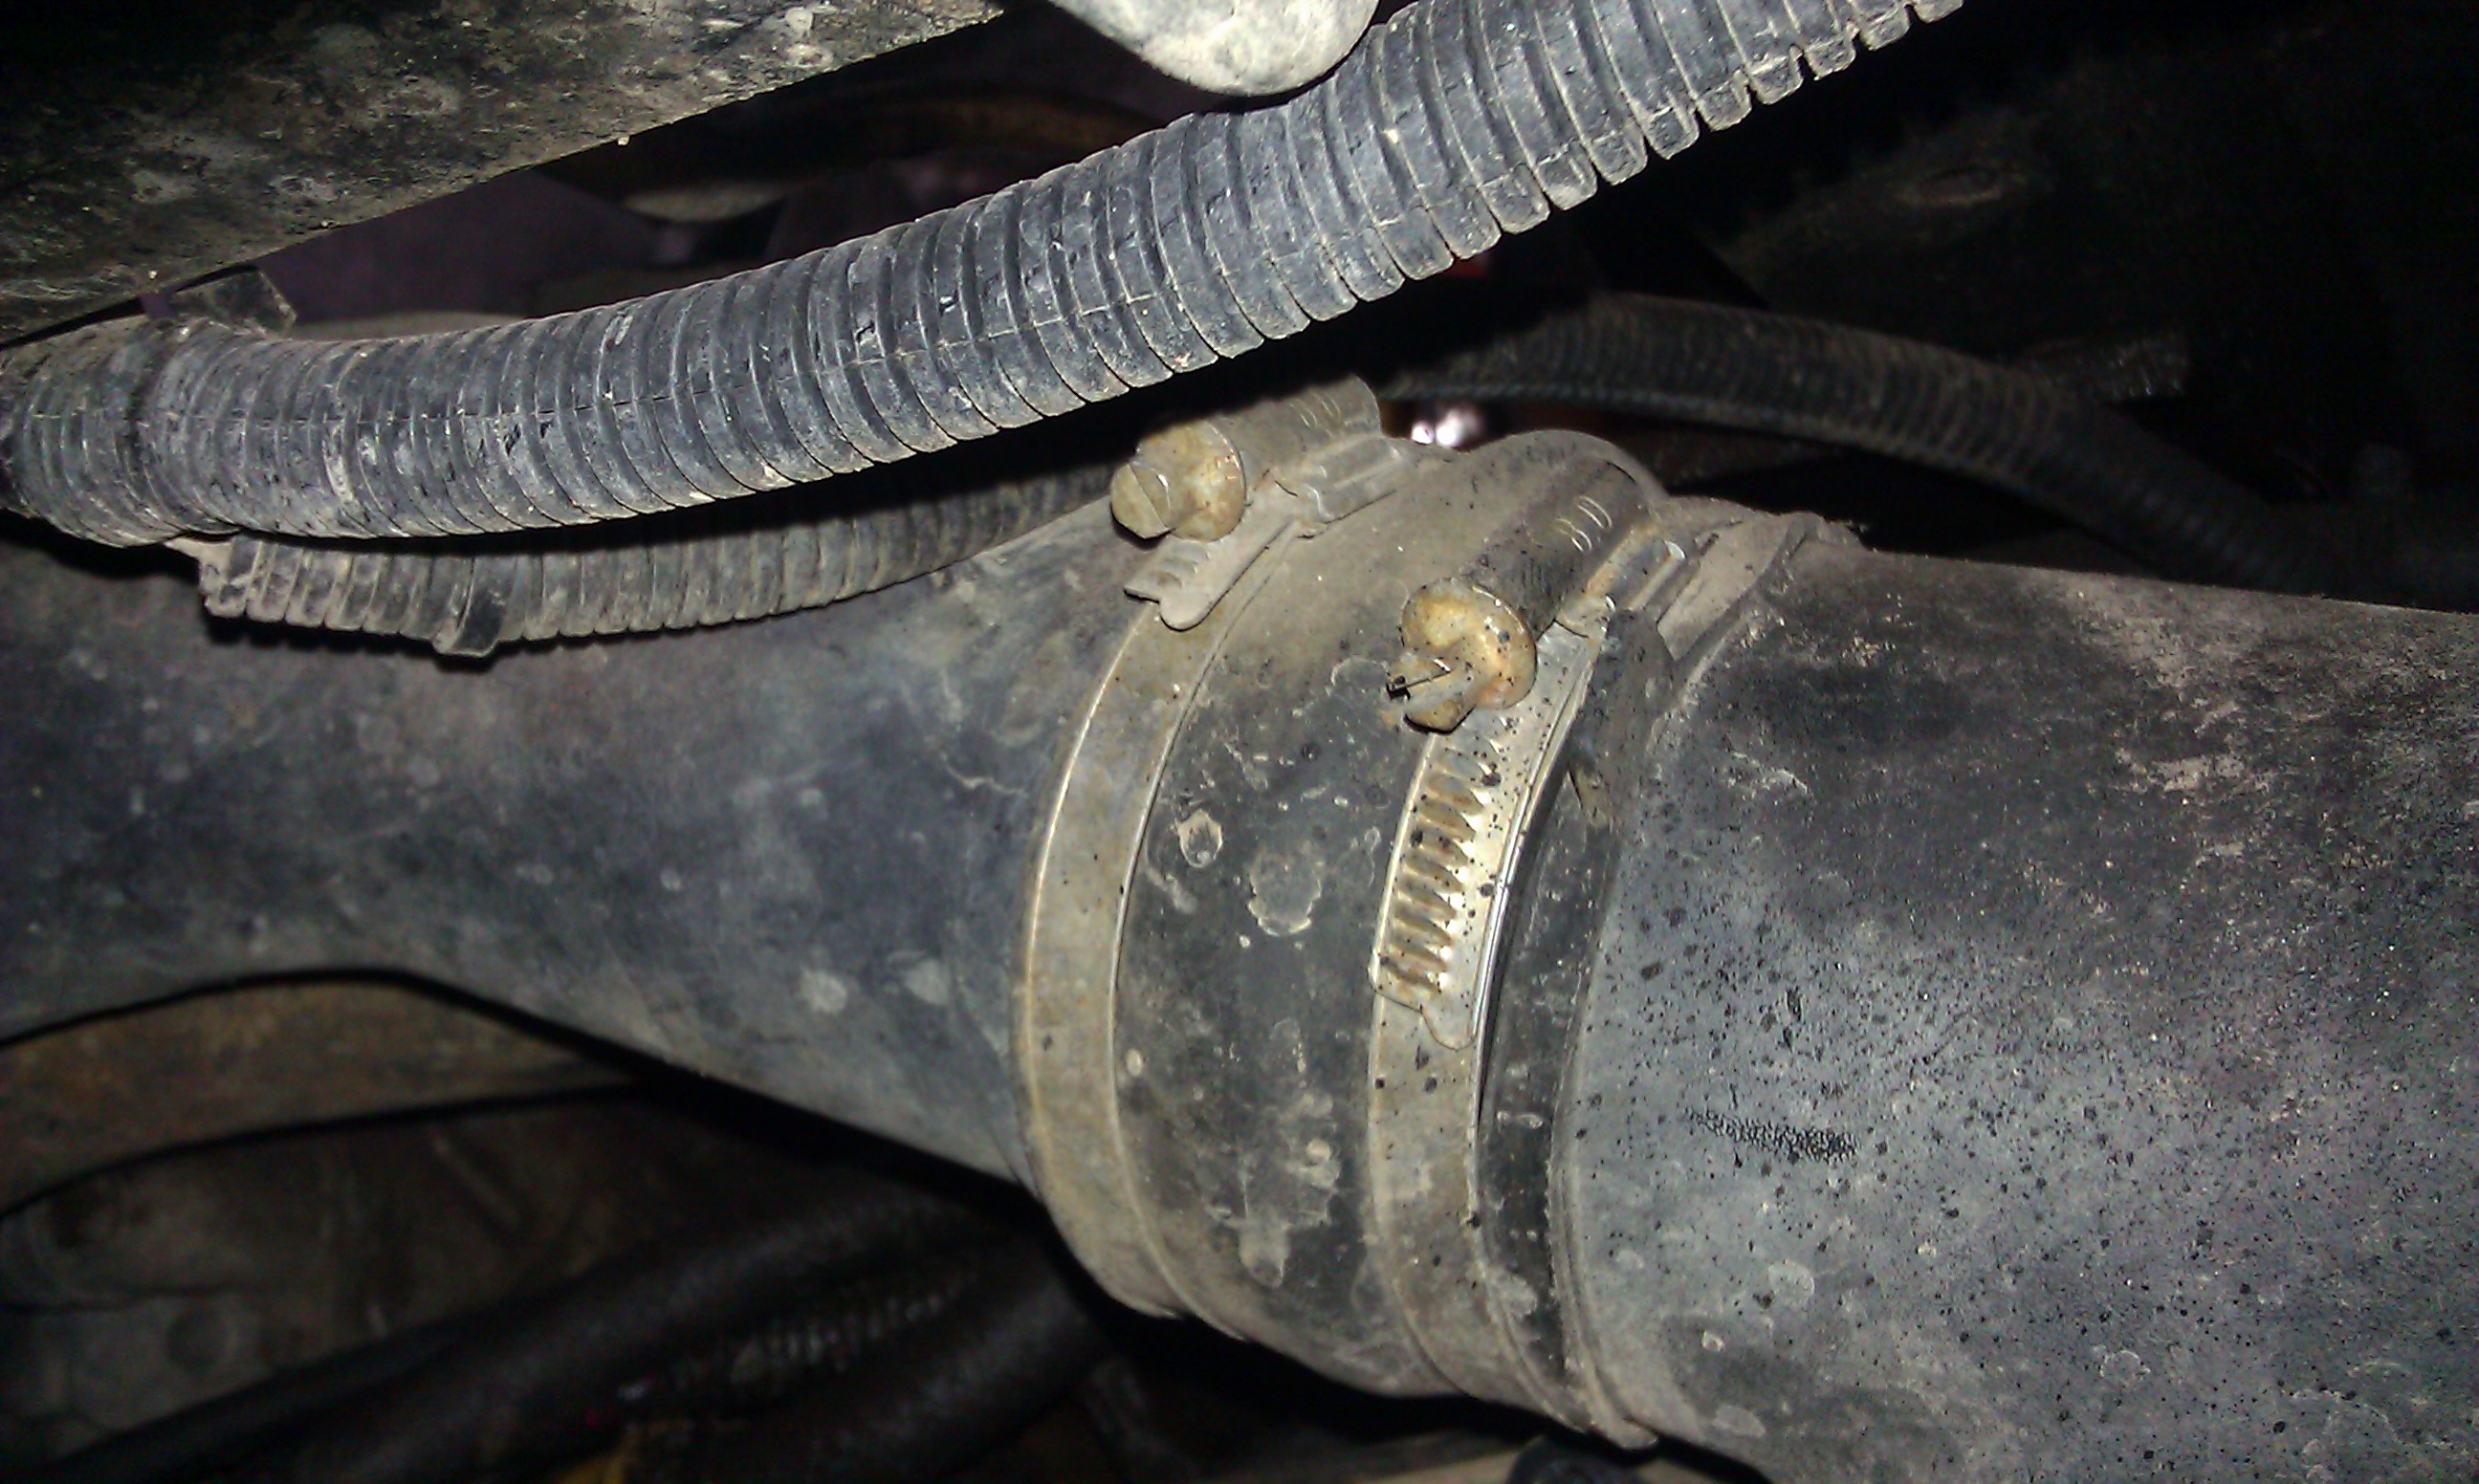 |
The hose clamps on the belt housing air outlet (the top of the belt housing cover) were loosened in preperation of removal of the cover. |
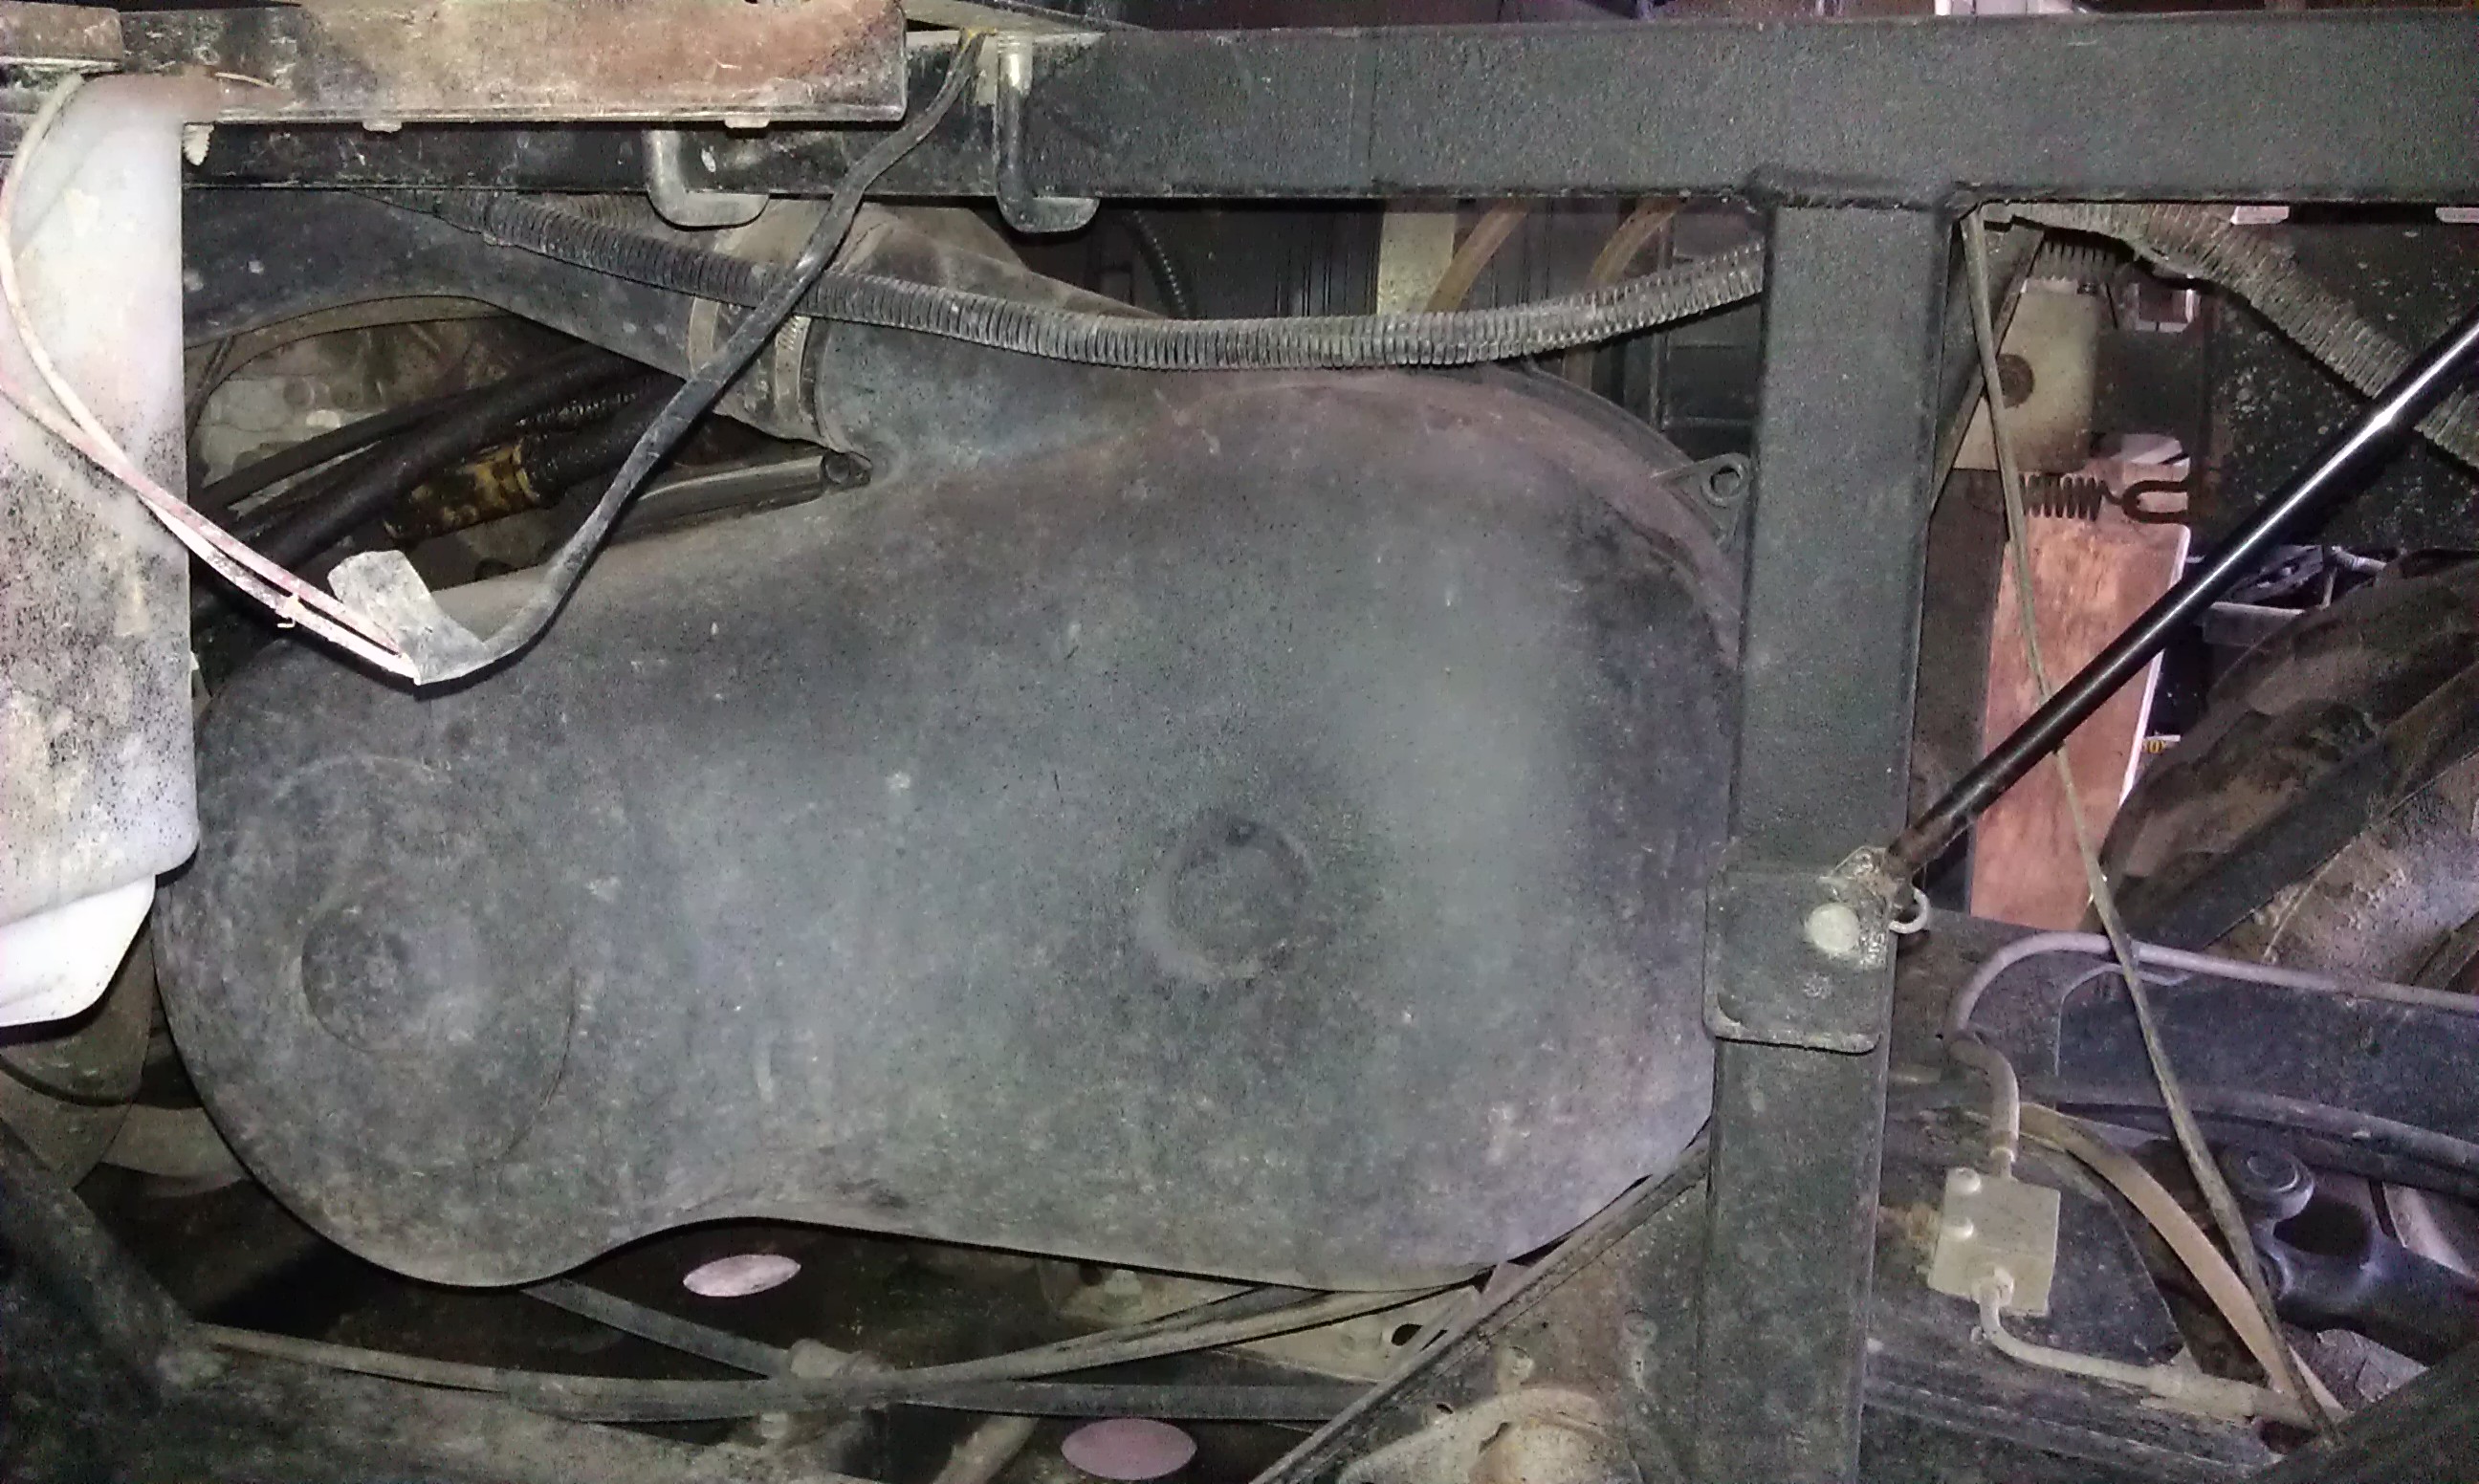 |
The 9 belt housing cover bolts were removed using a 3/8th inch socket. This is also known as the Torque converter housing. |
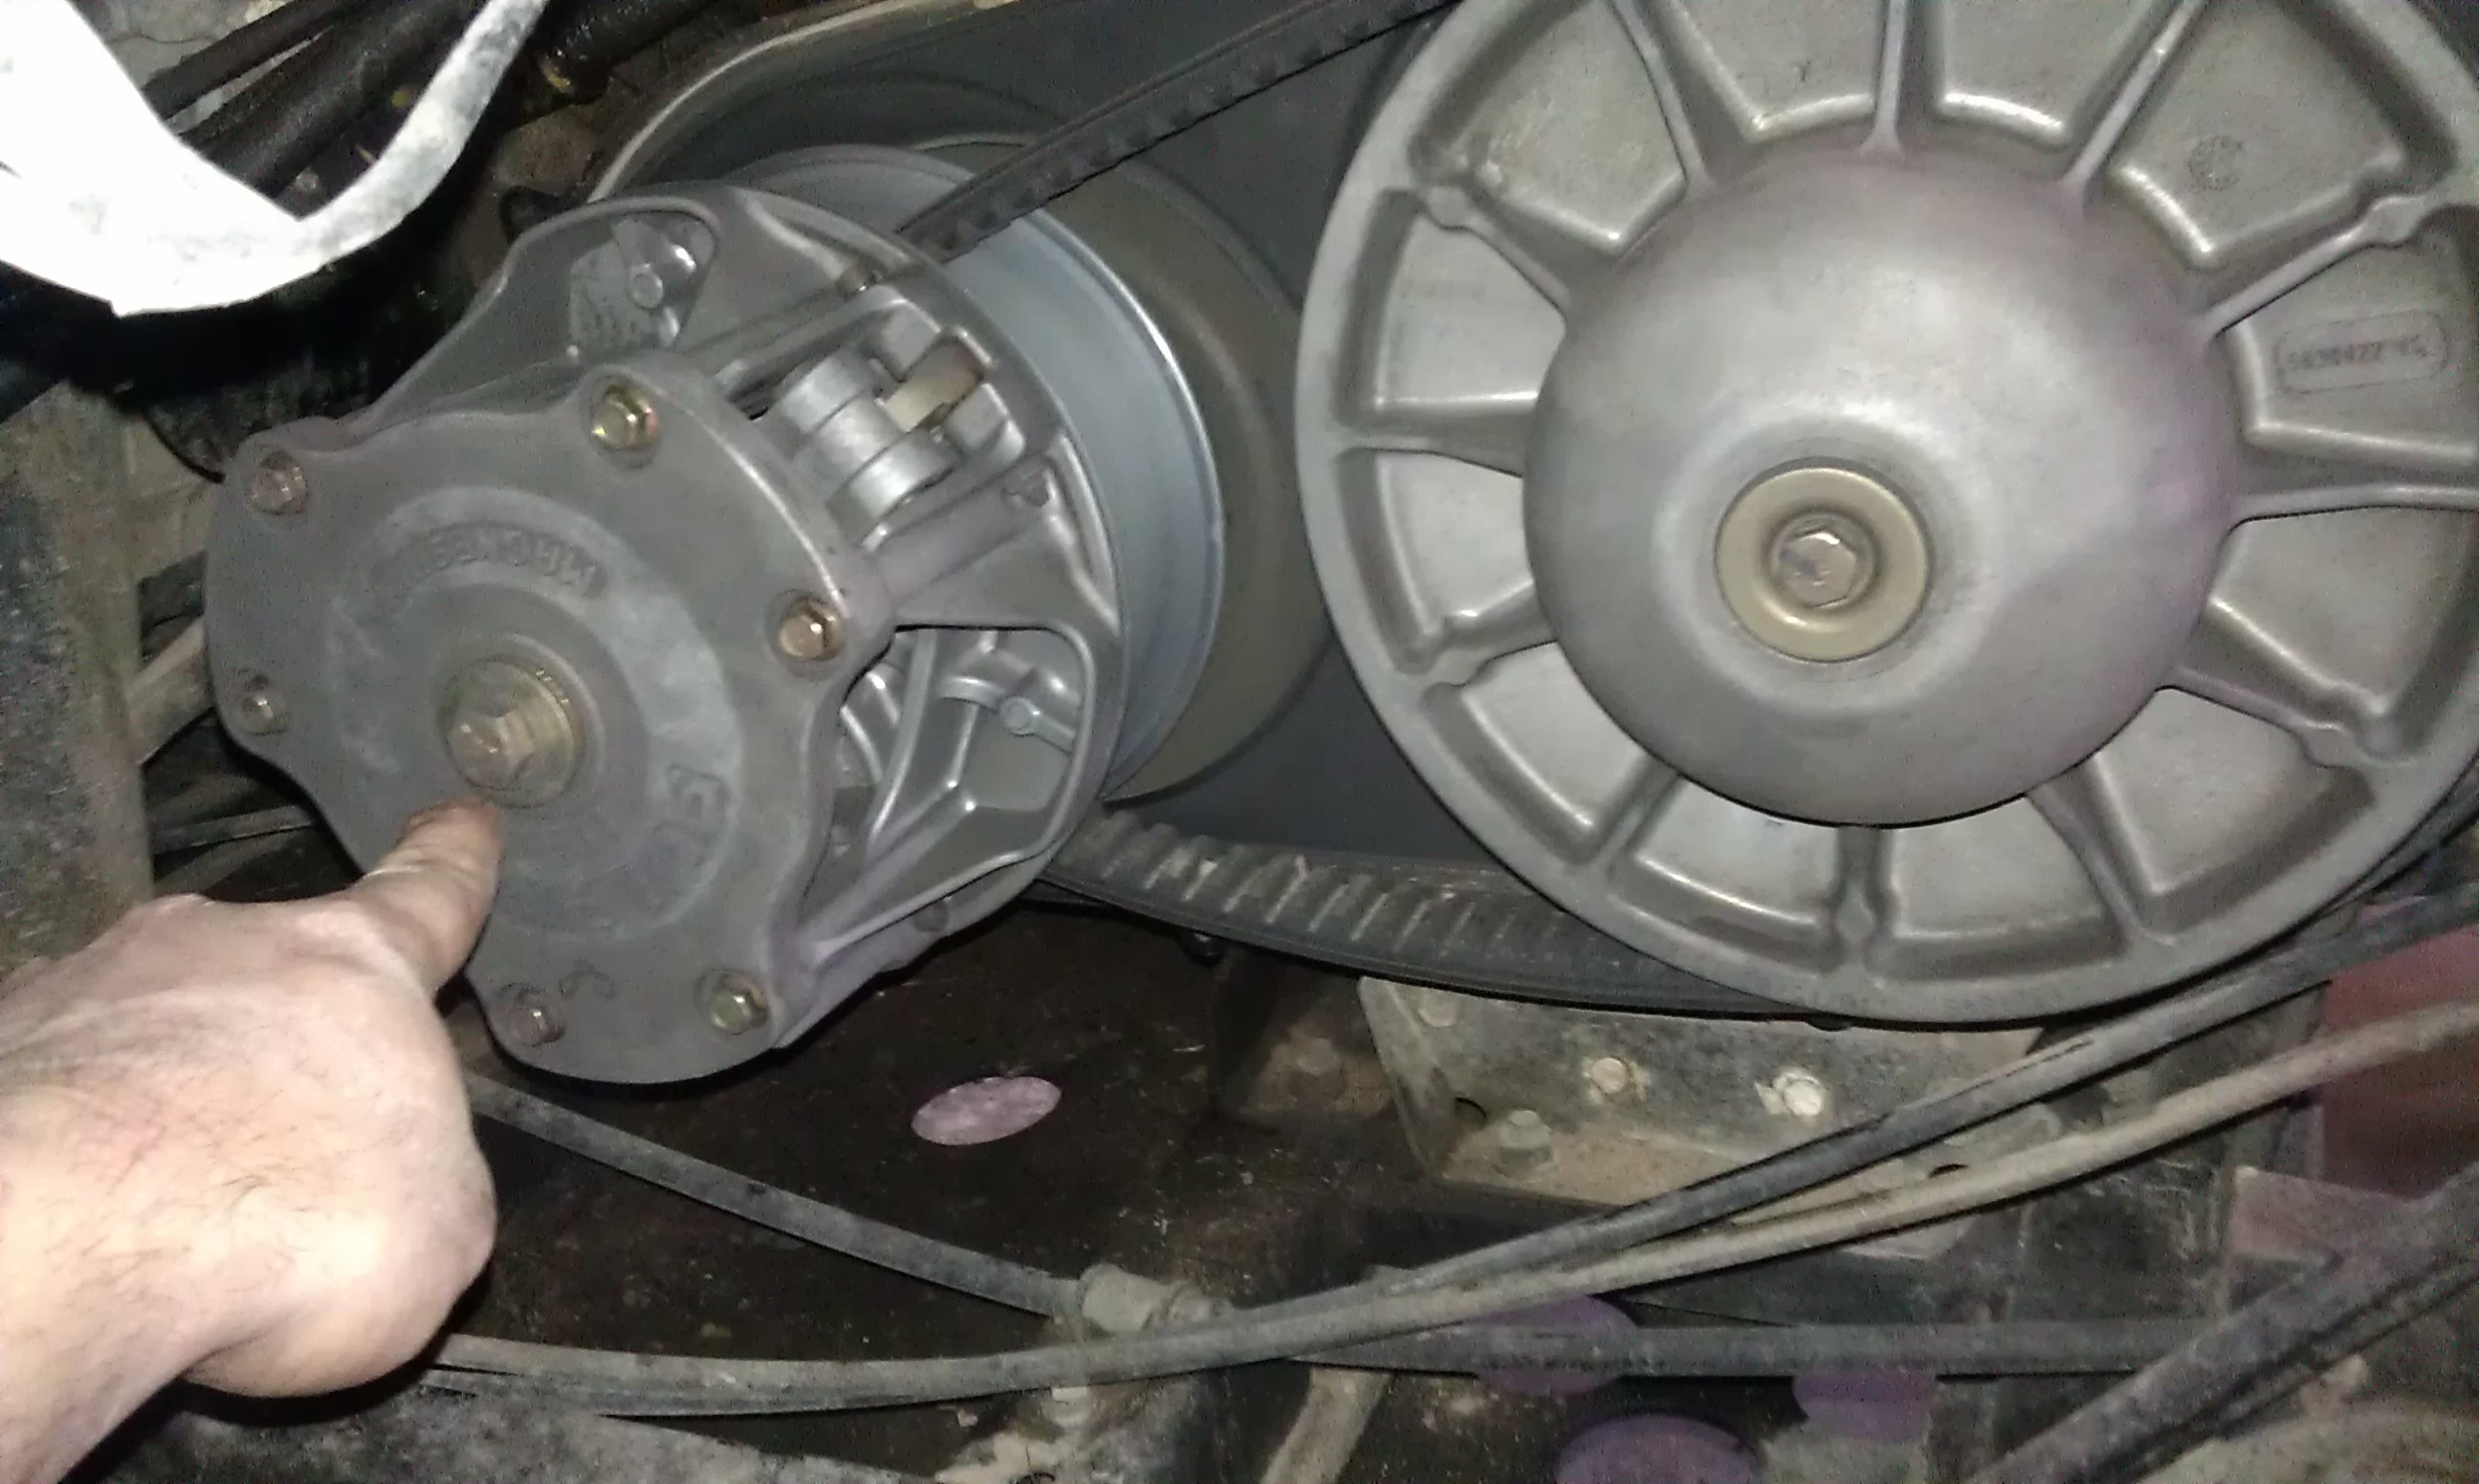 |
This is the Torque converter, it acts as an infinately variable ratio transmission by changing the pully width forcing the belt to take a larger diameter path on the drive pully as RPM increase changing the gear ratio. |
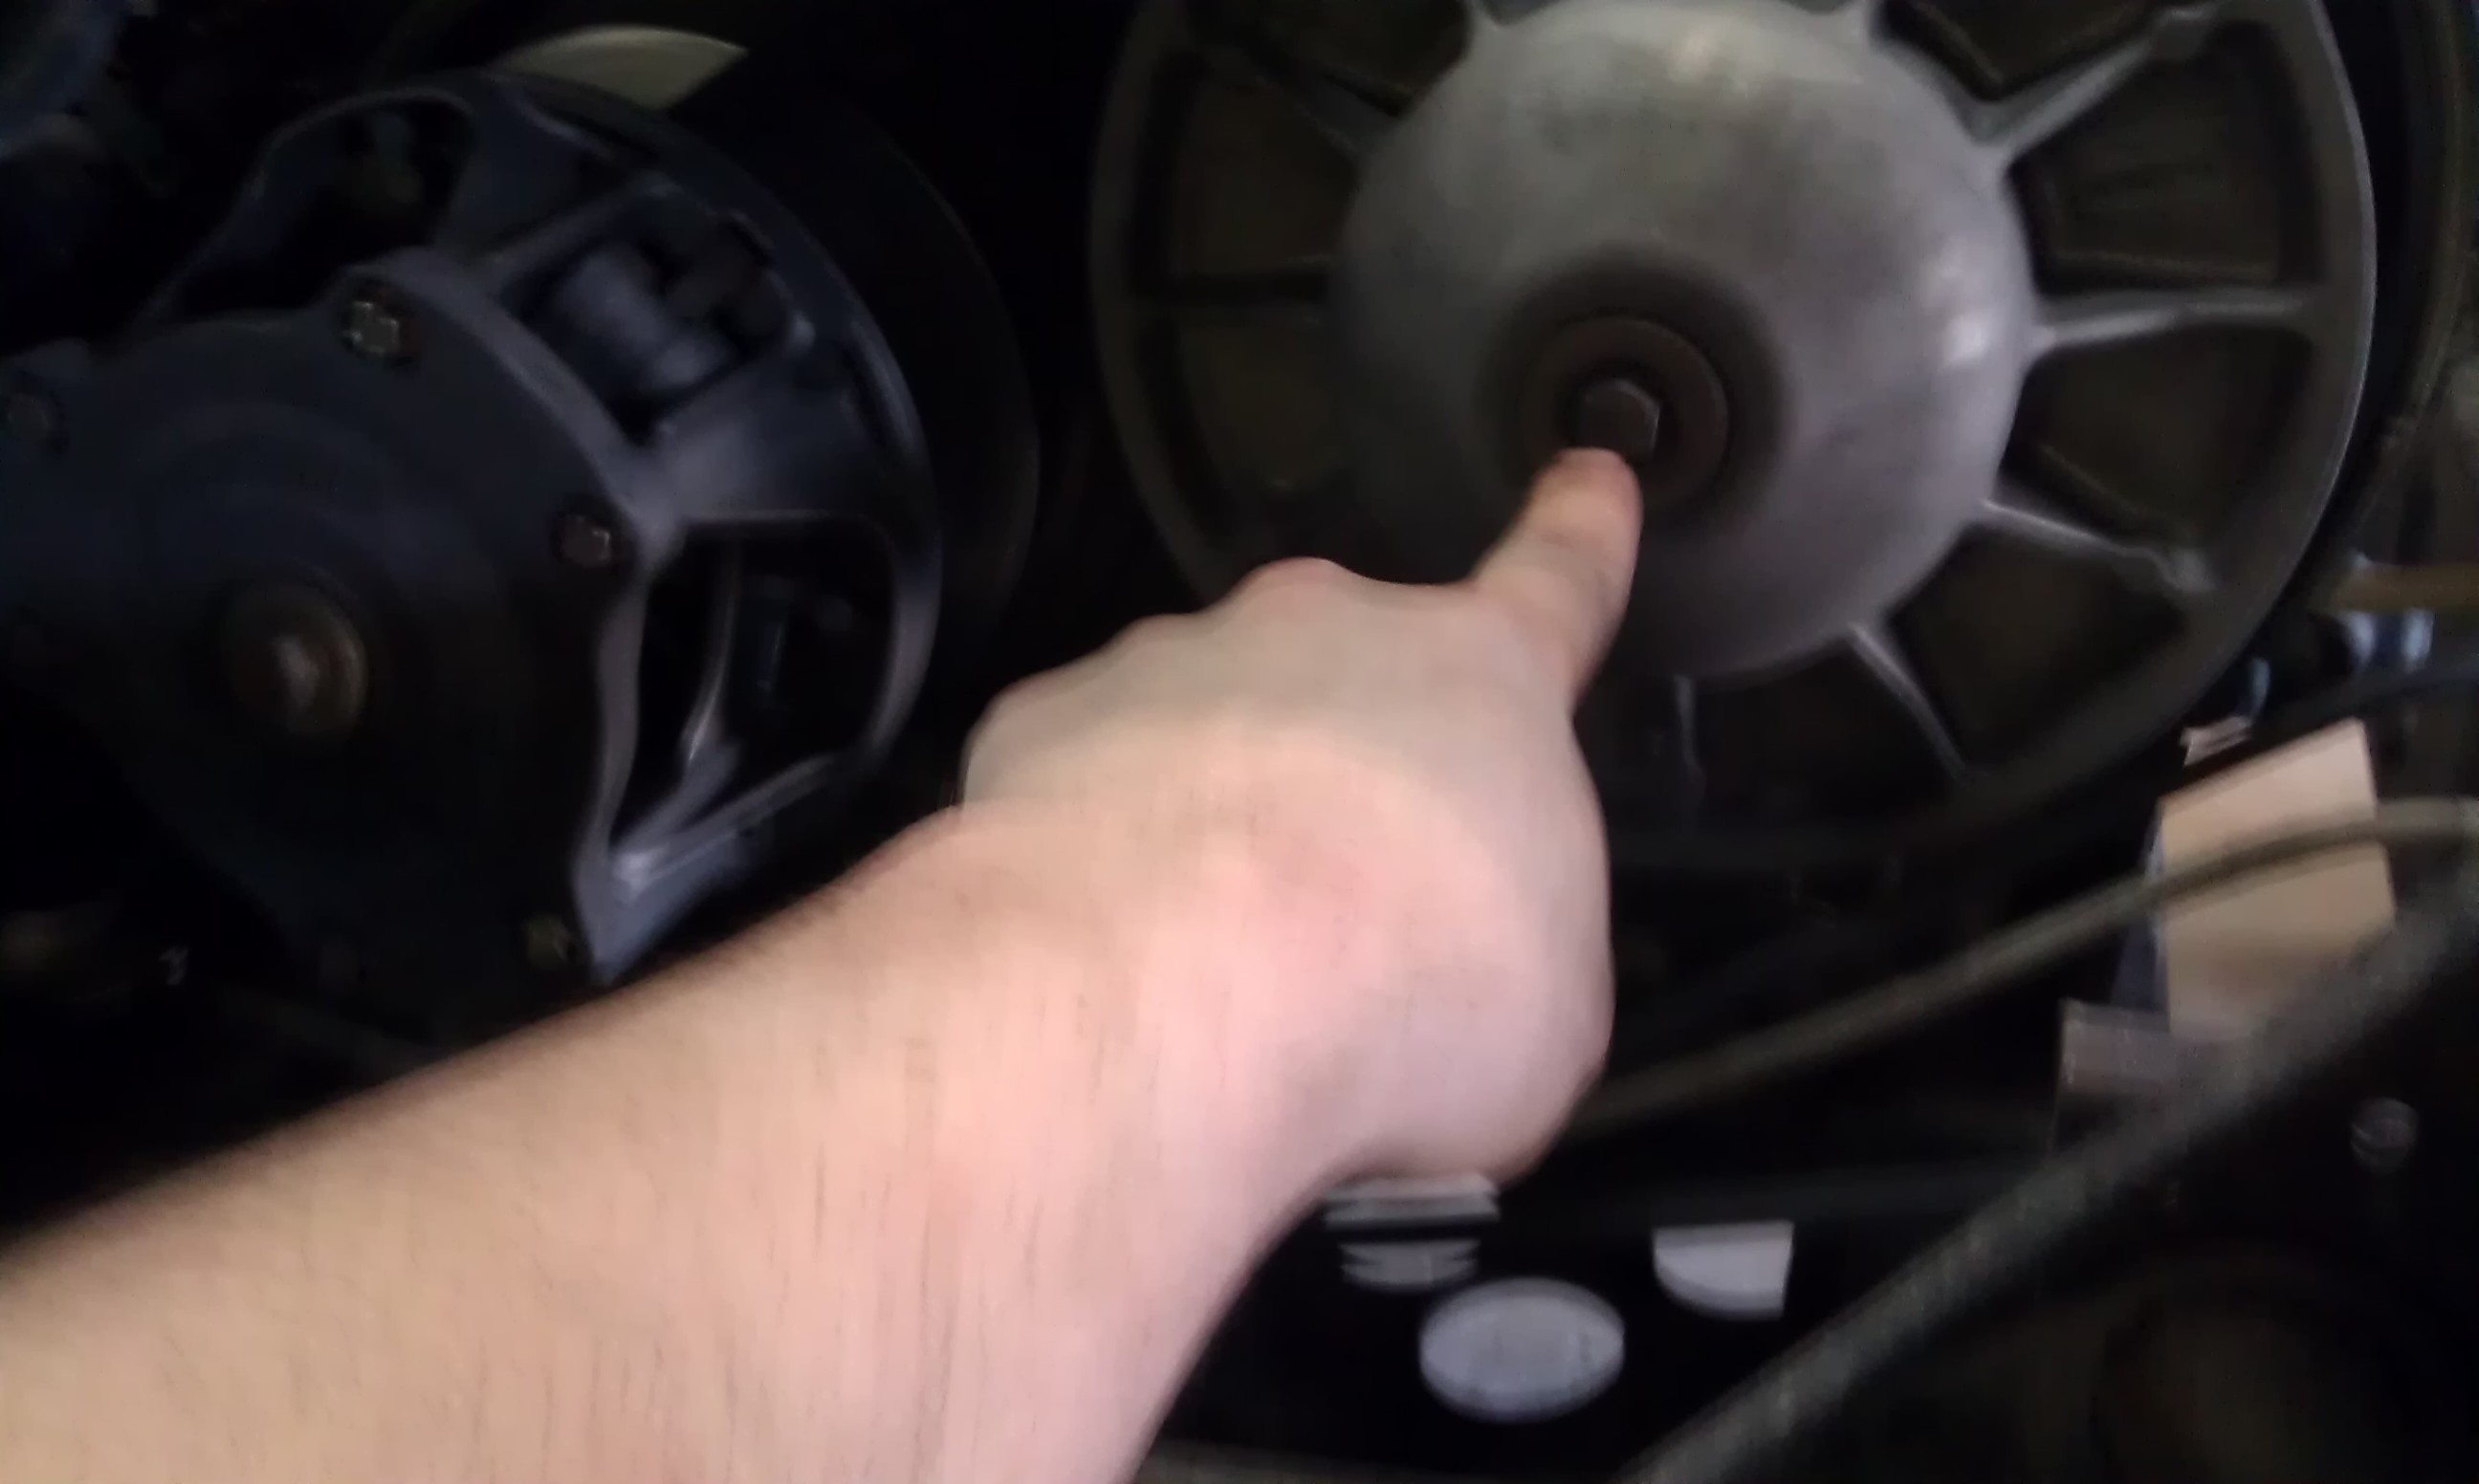 |
The driven (rear) pully retaining bolt was removed using a 9/16th inch socket. |
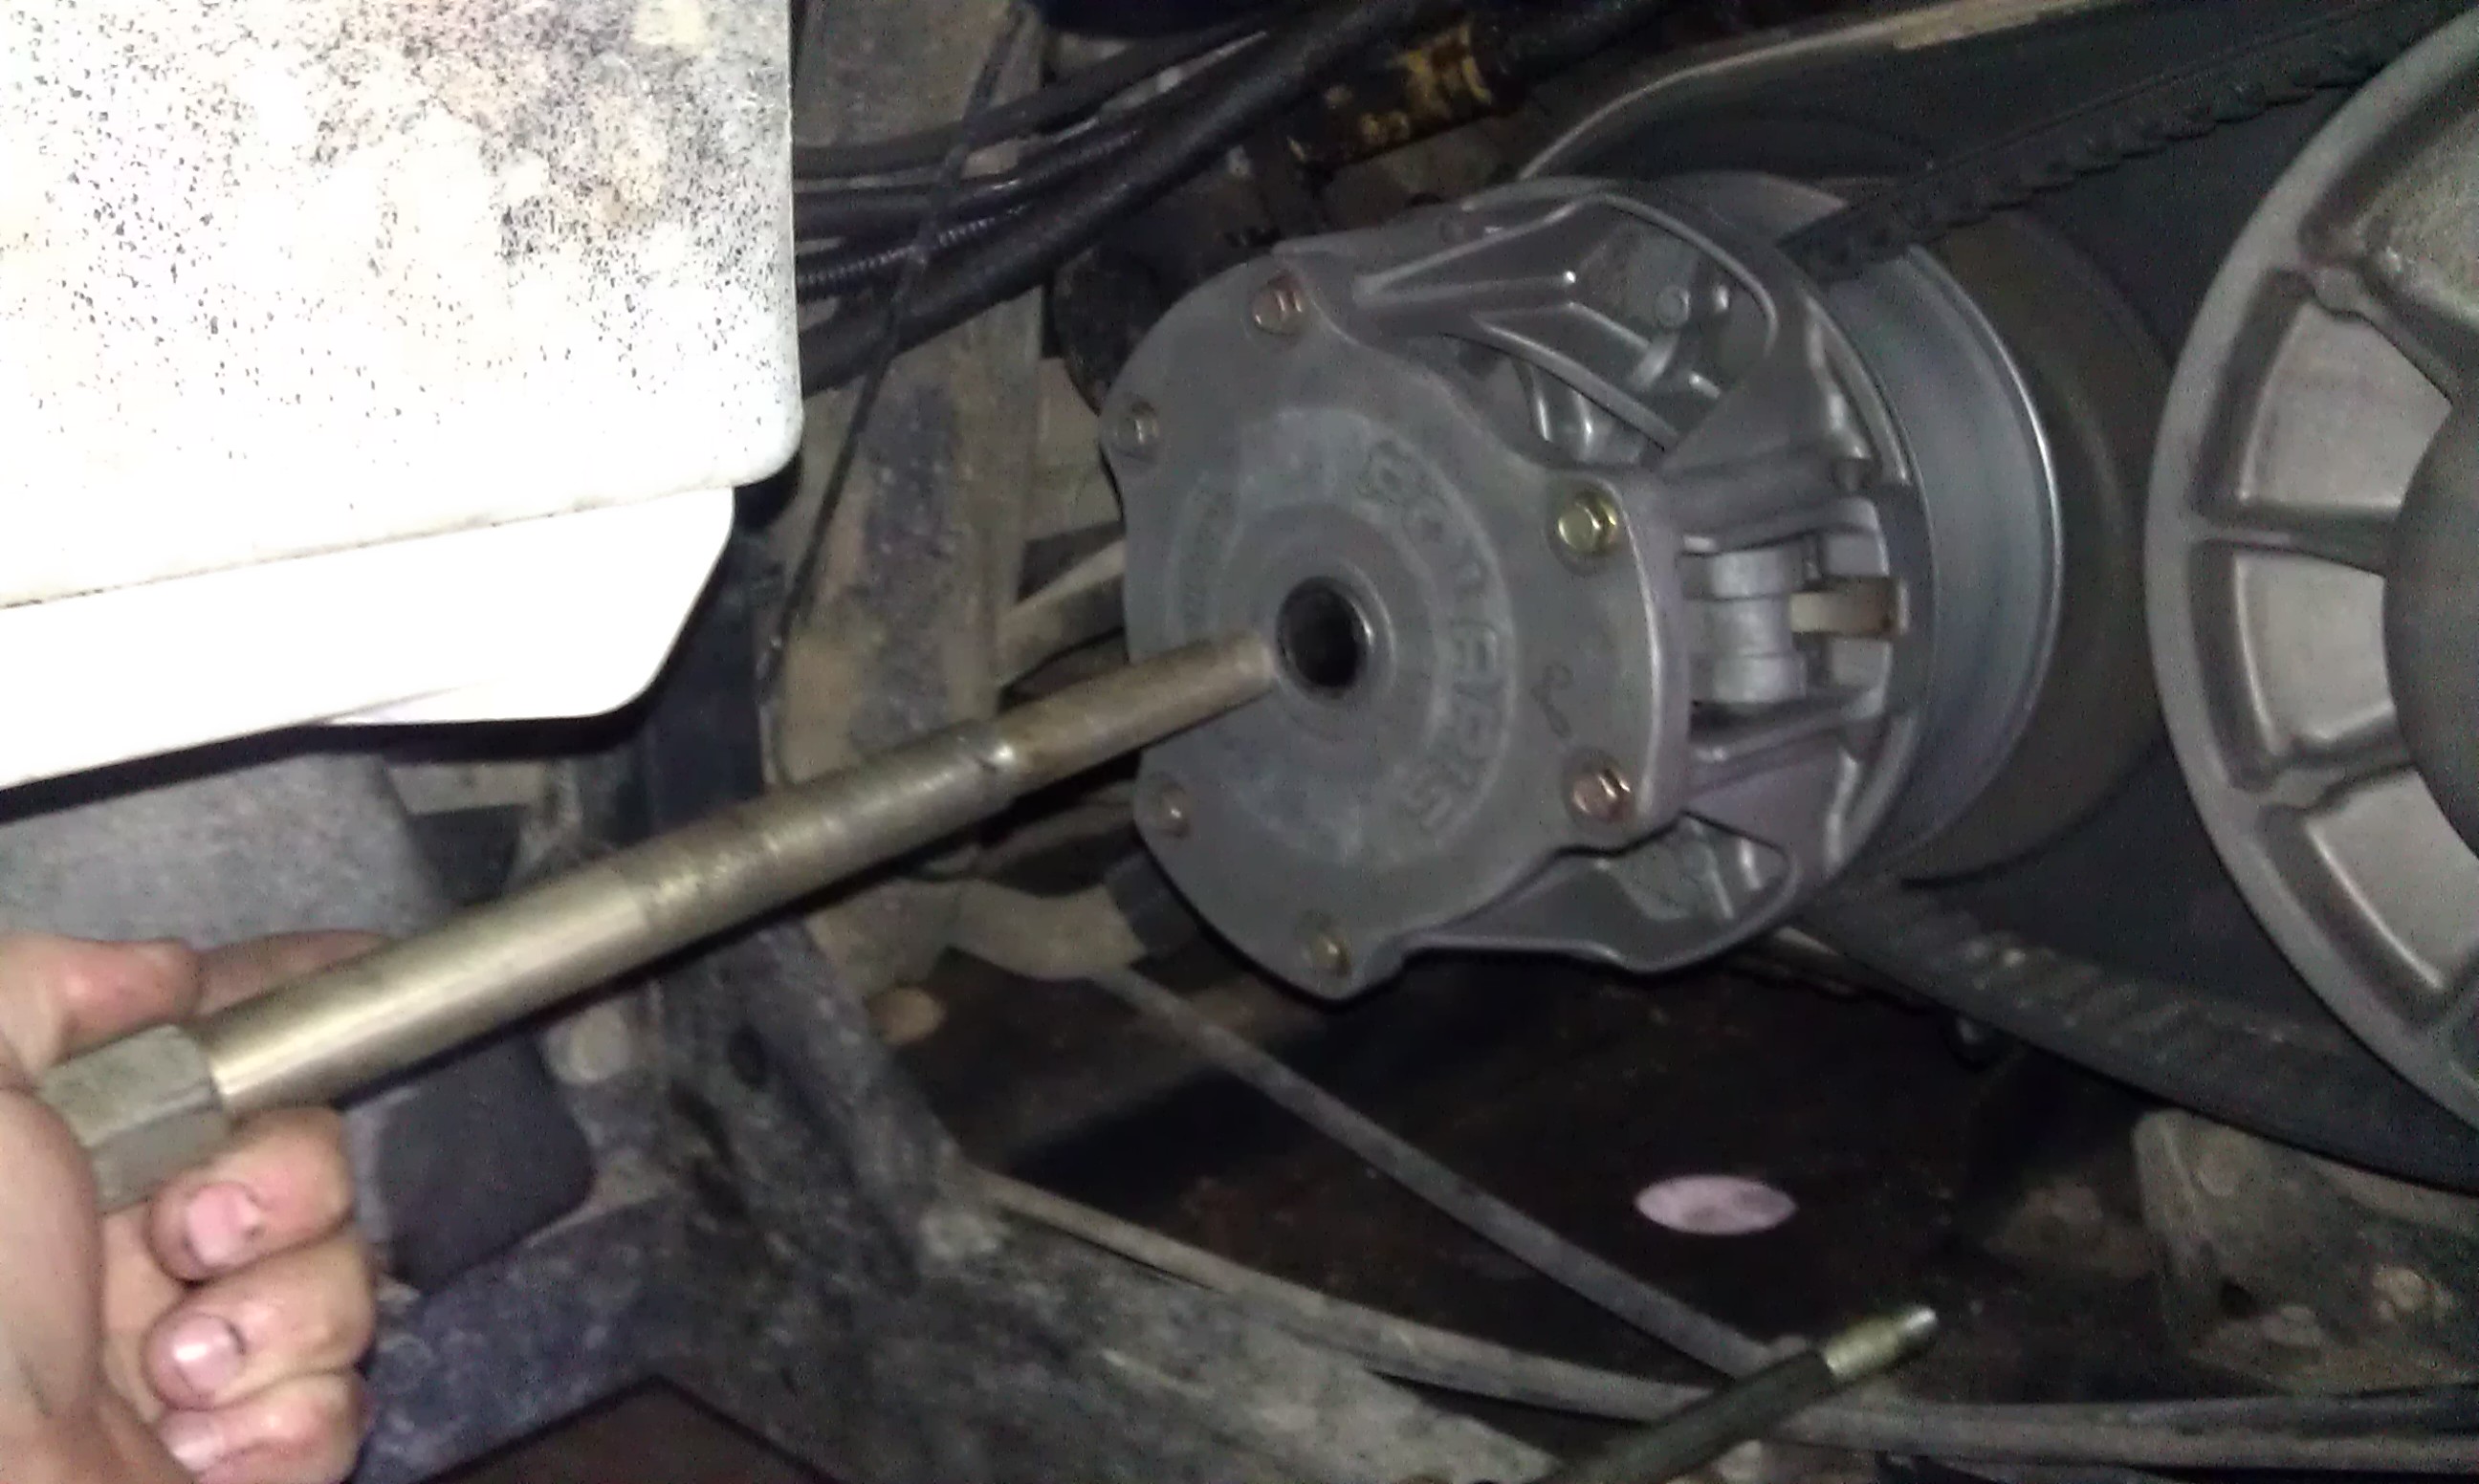 |
The drive pully retaining bolt was removed using a 5/8th inch socket. The pully removal tool (tucker rocky pn 98-0391) was inserted and tightened using a 7/8th inch wrench to remove drive pully, this takes a lot of force. |
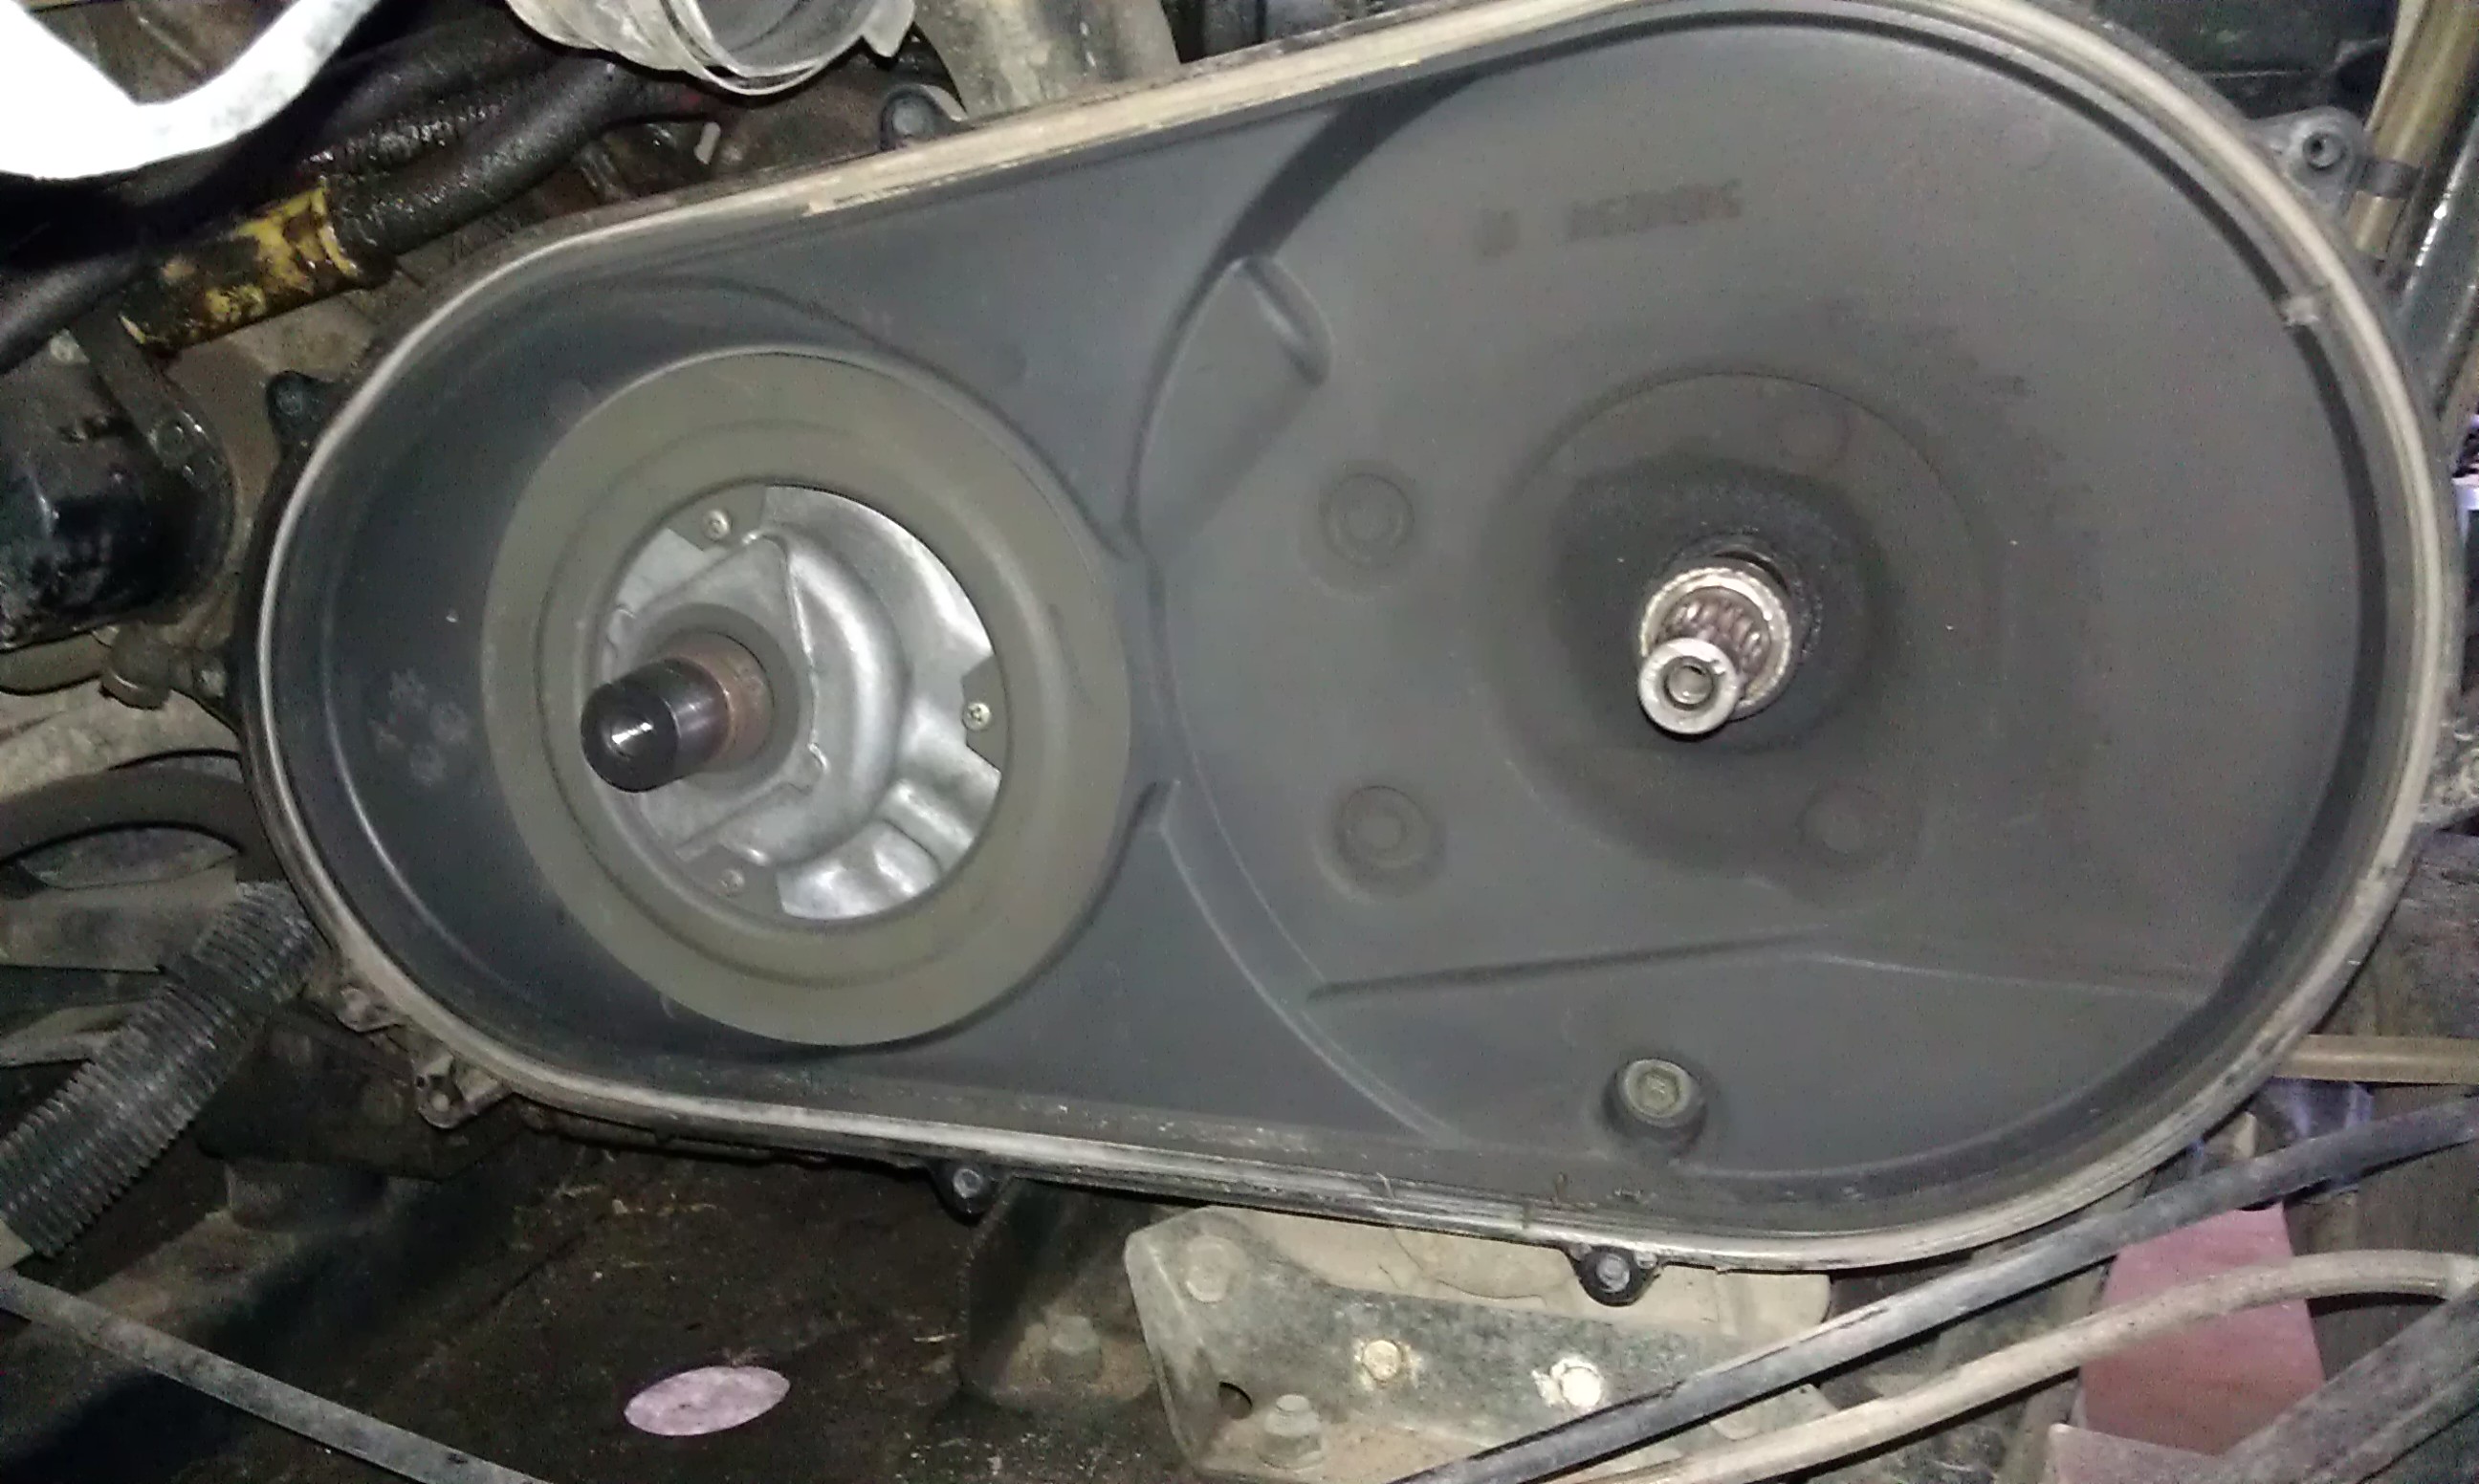 |
The 4 #2 Phillips screws were removed using a #2 impact screw driver to avoid stripping them. Then 5 bolts were removed using a 3/8th inch socket. |
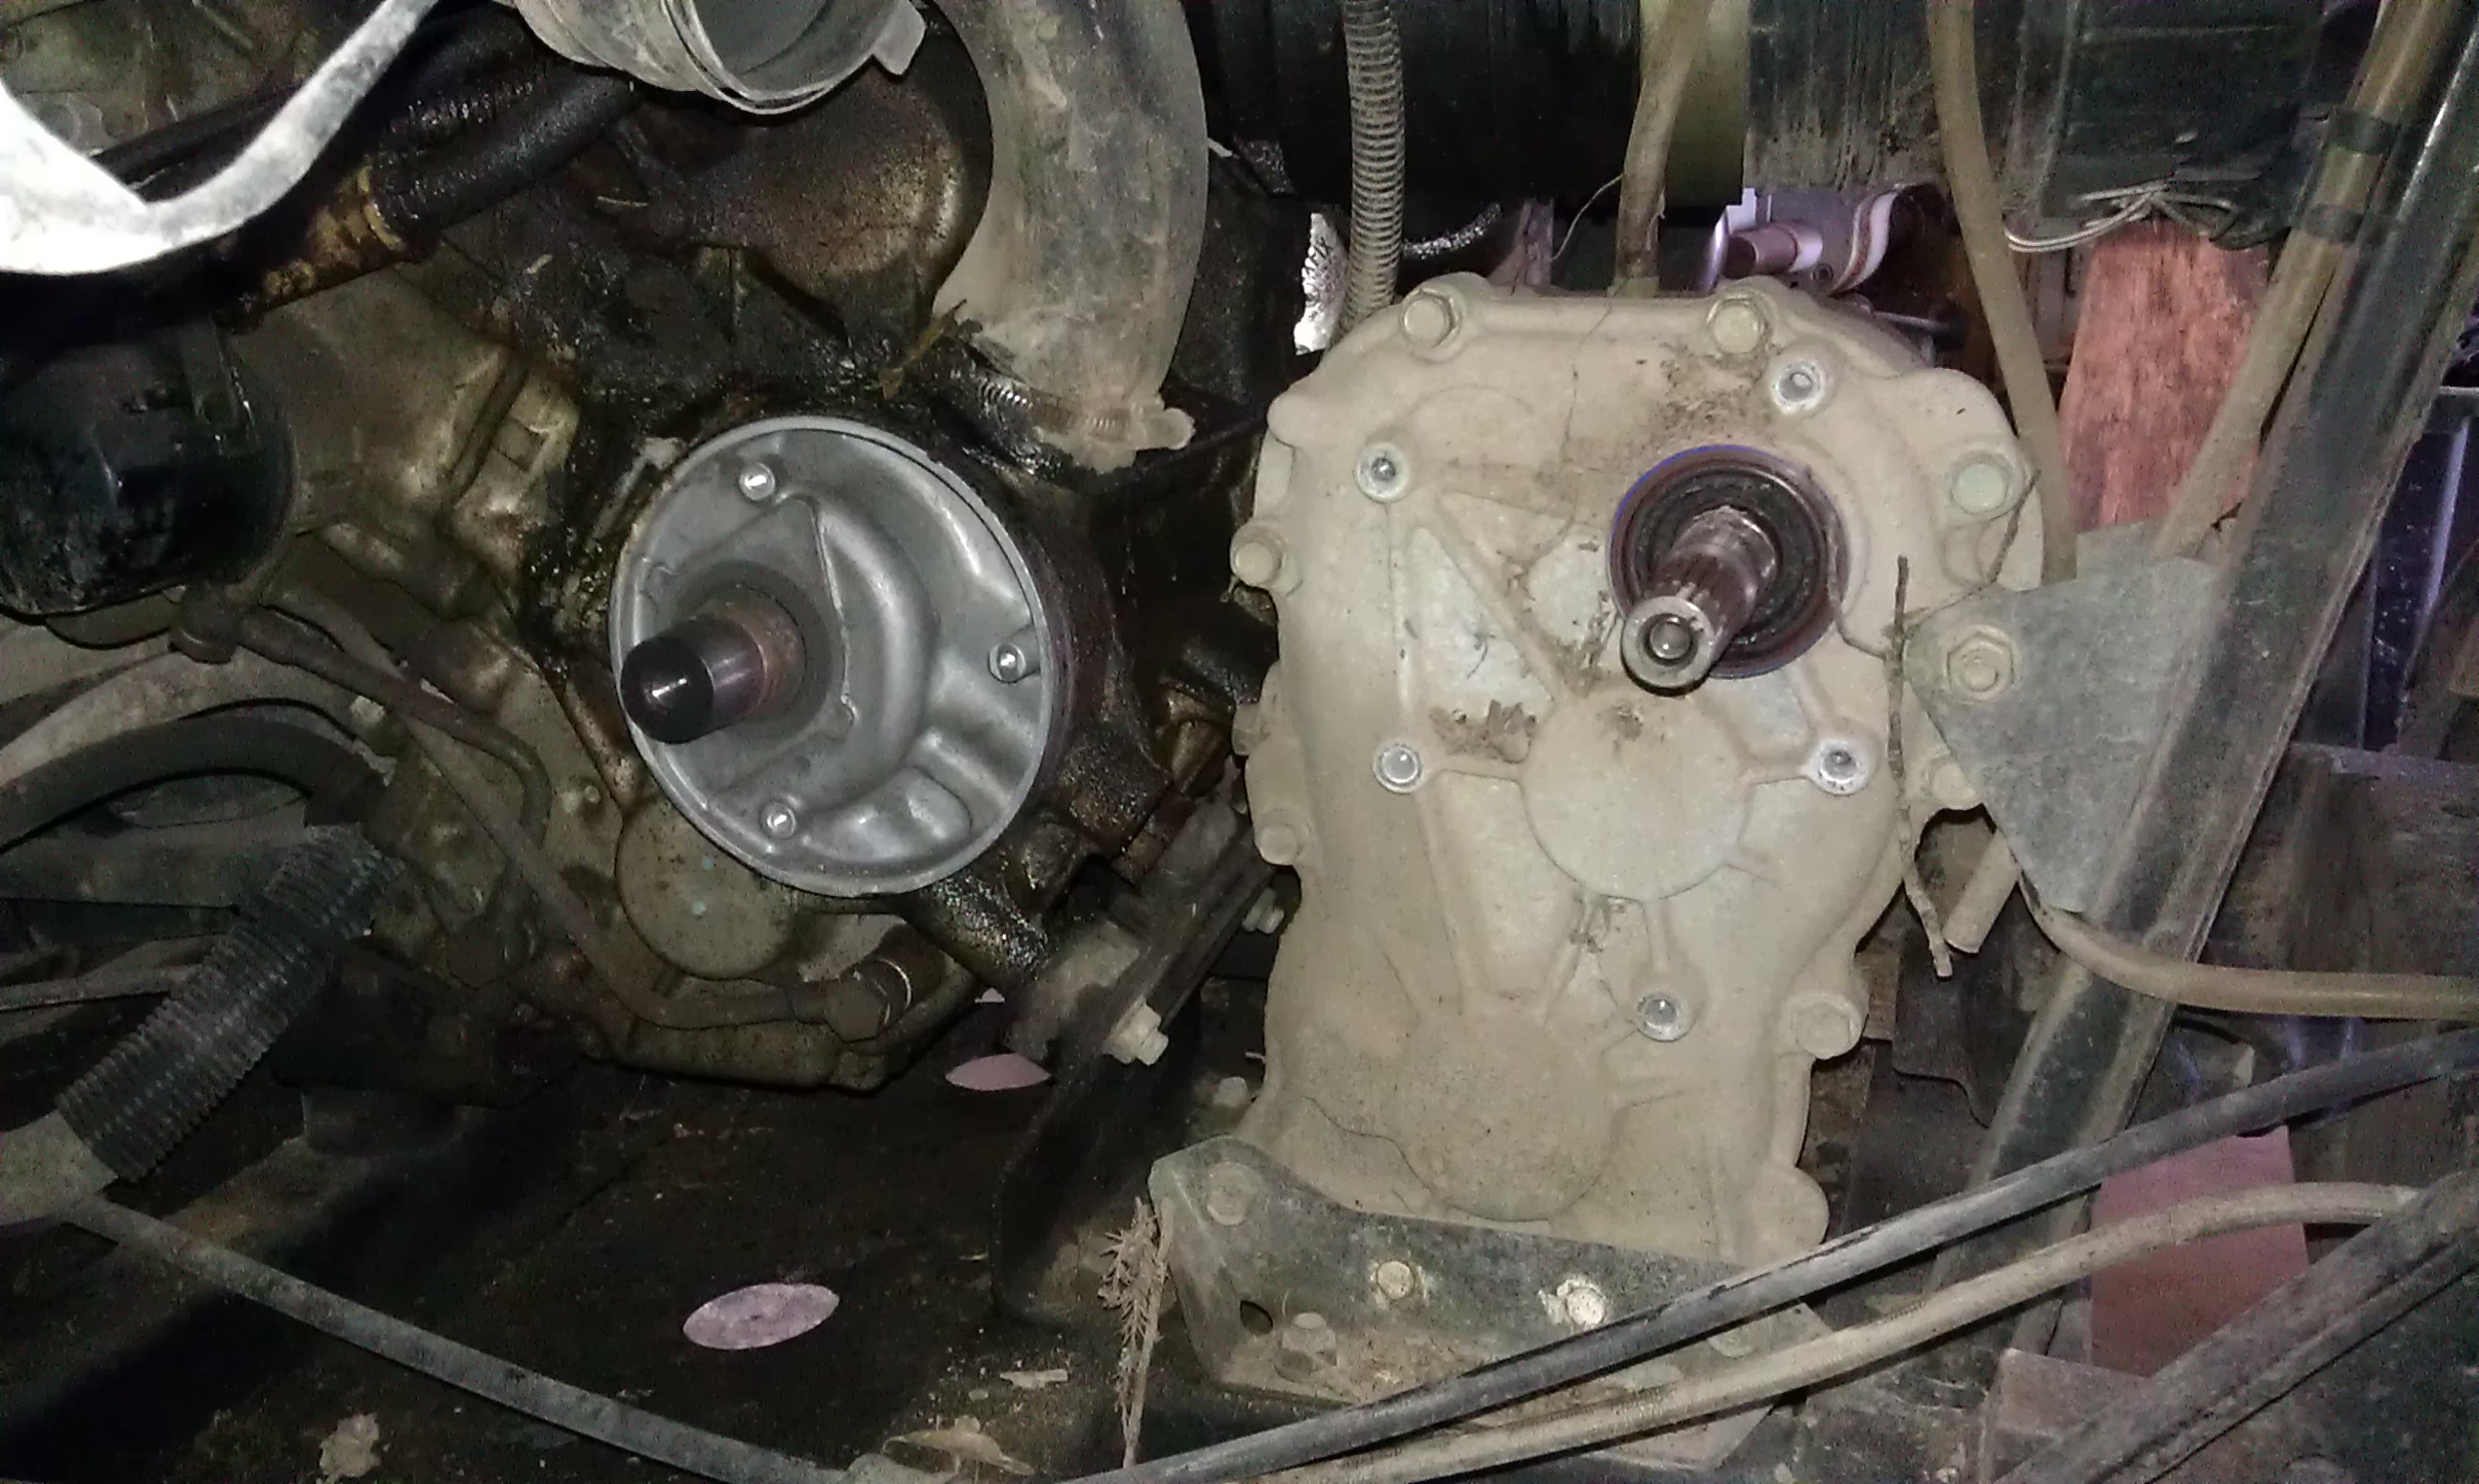 |
The torque converter housing back plate was removed from the engine and gearbox. The two bolts on the gearbox mounting bracket to the frame were removed using a 9/16 th socket and wrench. The bolt between the gearbox and engine was removed too at this time. |
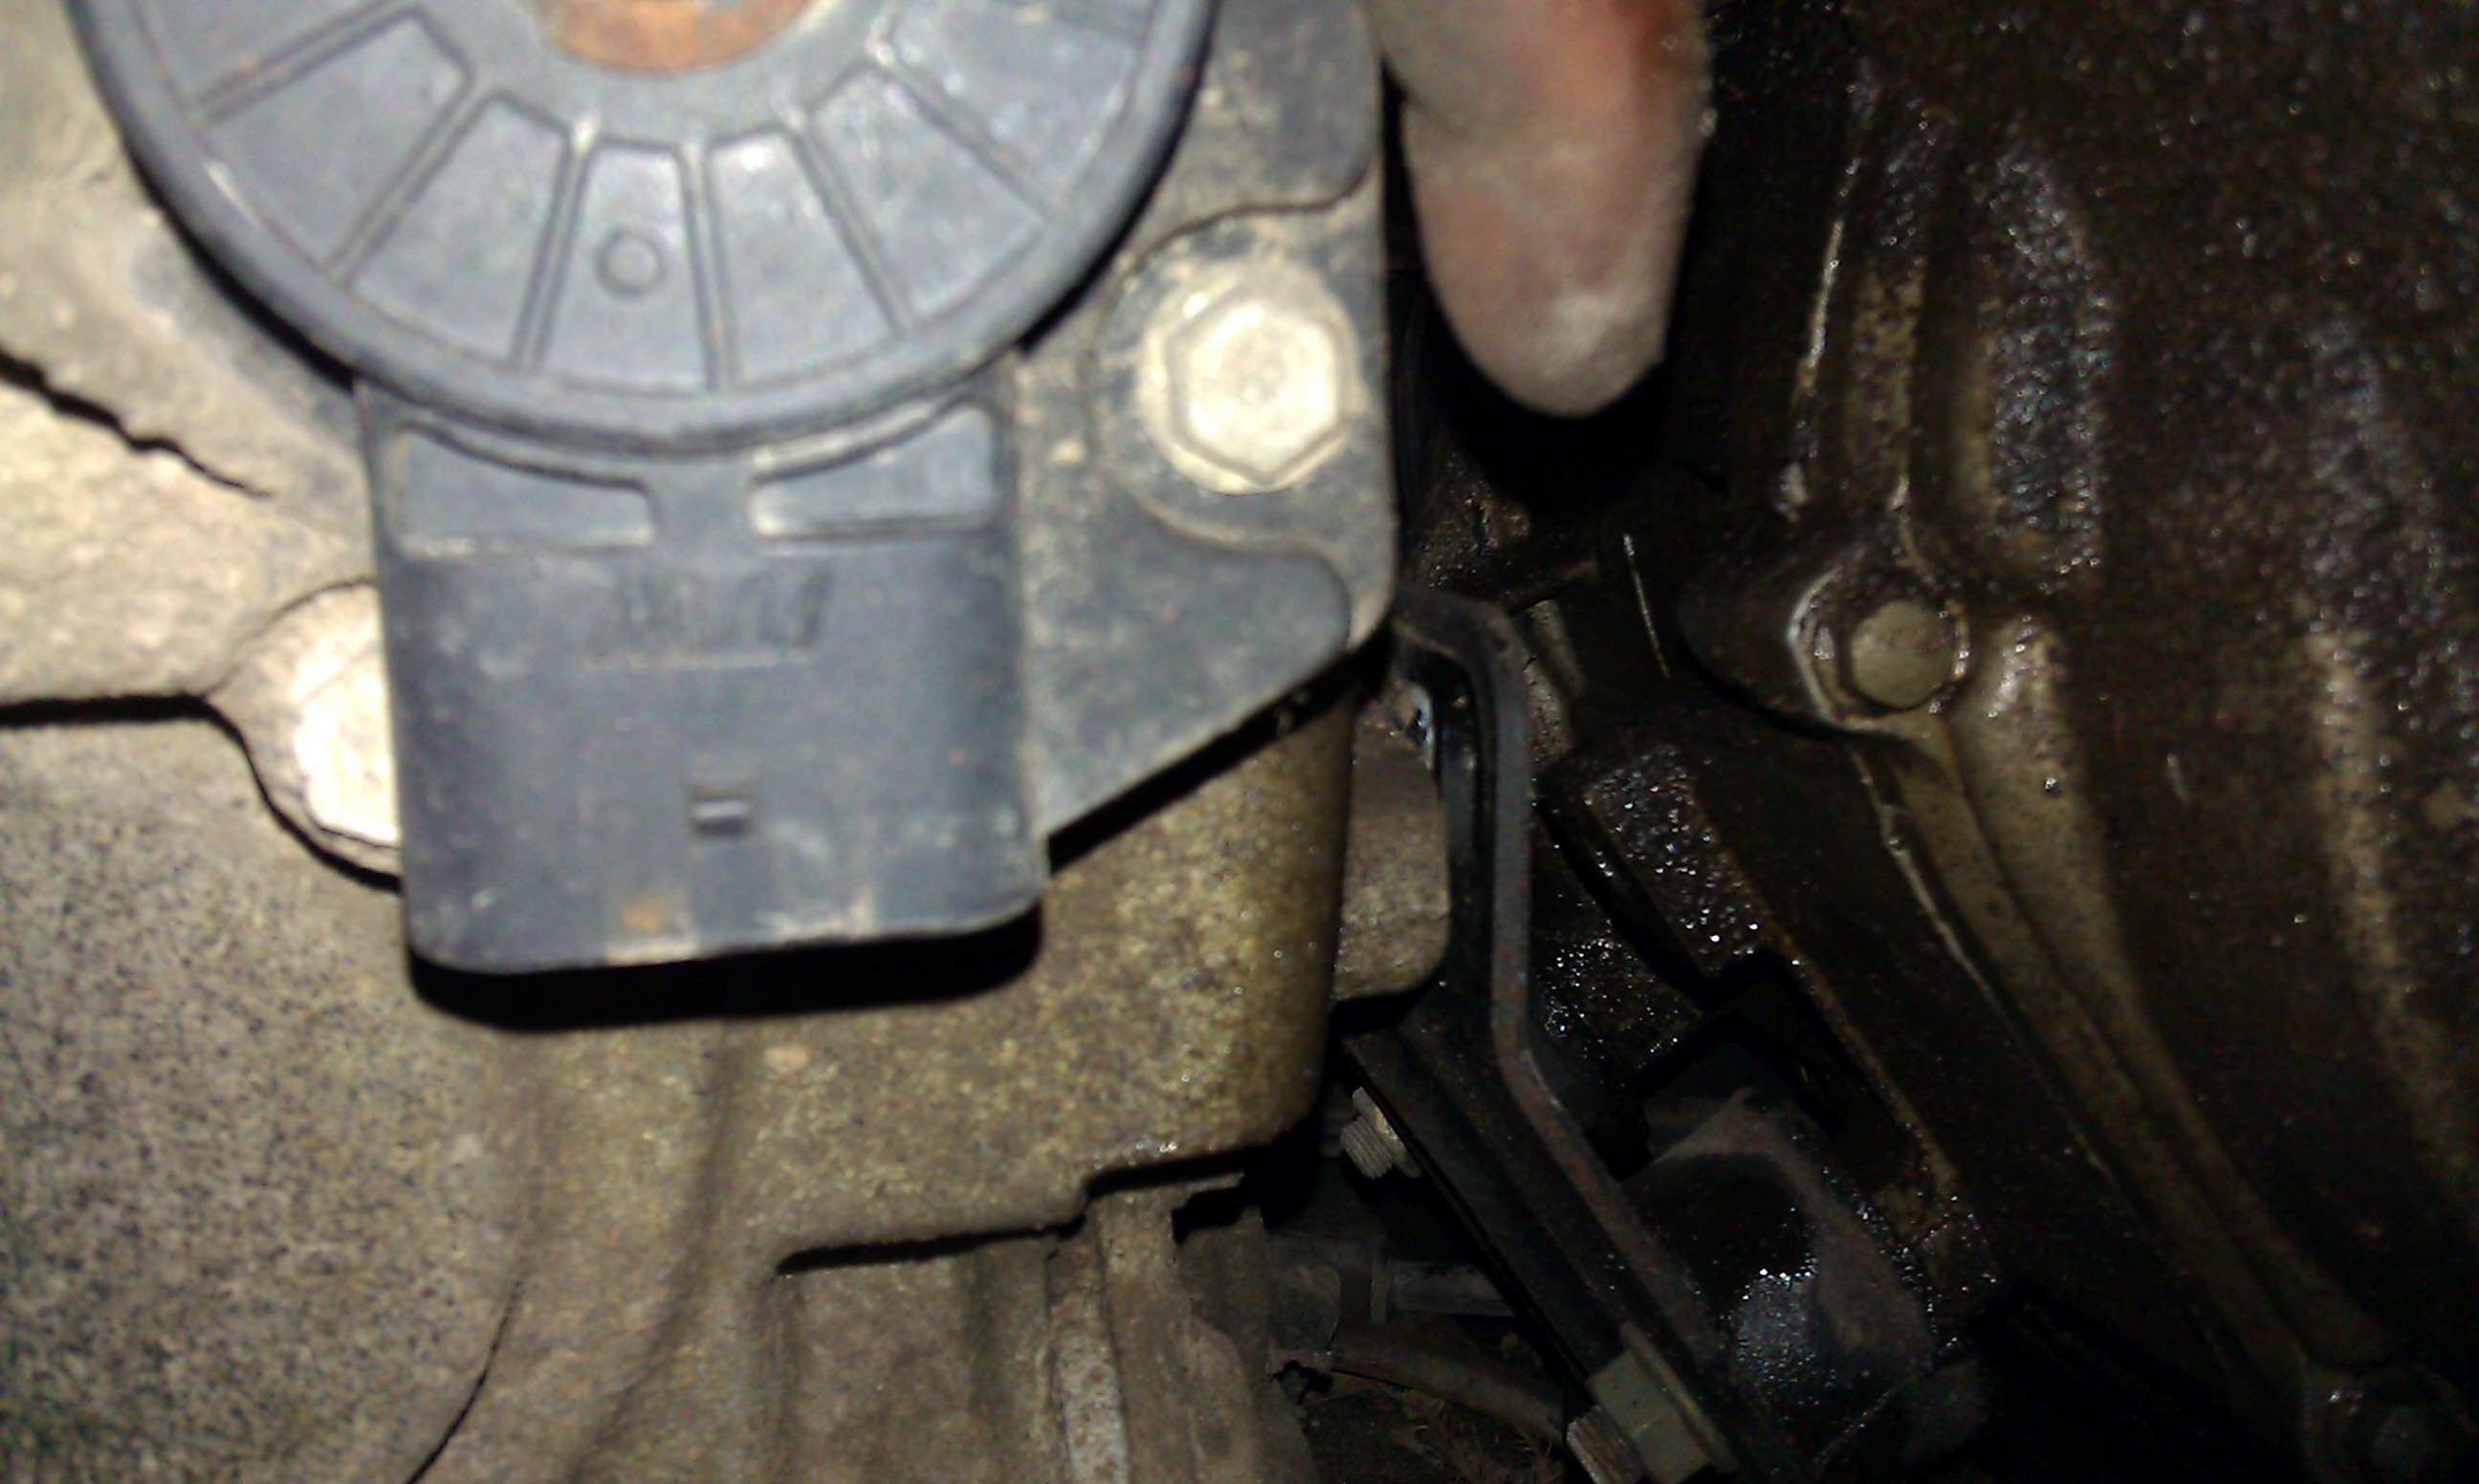 |
The other bolt on the front of the gearbox was removed using a 9/16 th inch wrench then the rear bracket and last remaining bolt was removed. |
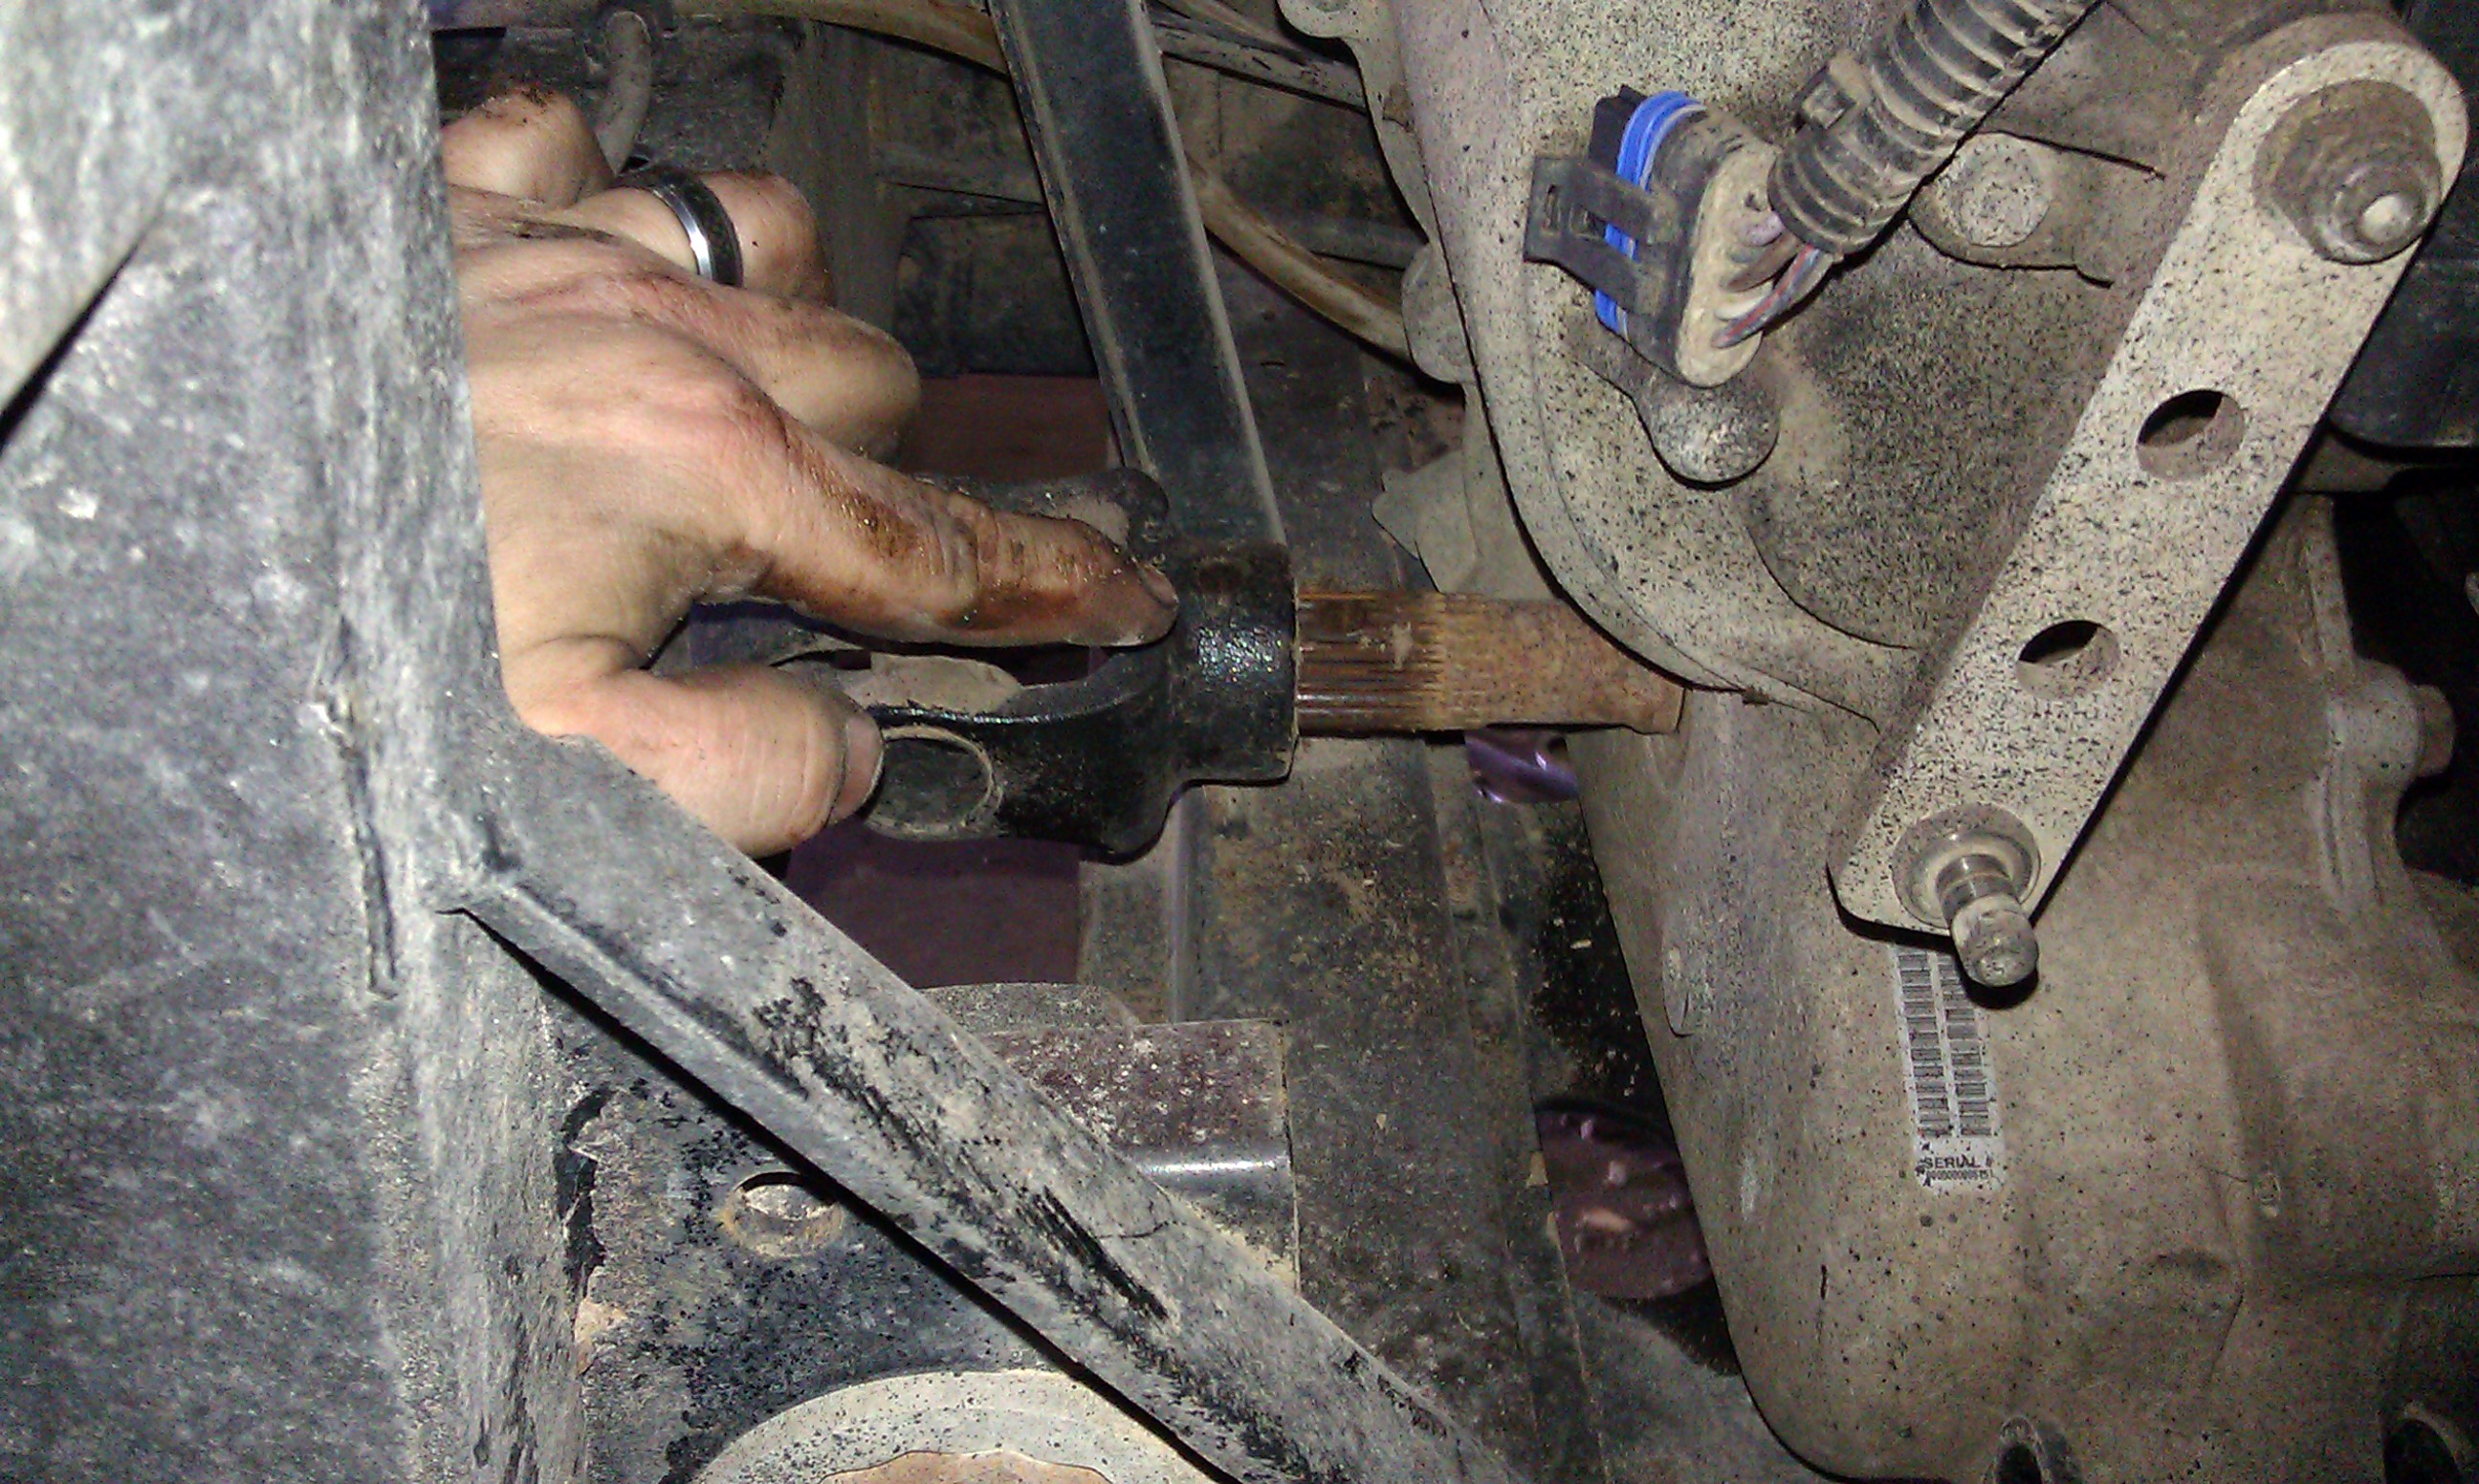 |
The roll pin securing the rear driveshaft to the gearbox output shaft was knocked out using a 1/4 inch punch and a hammer. |
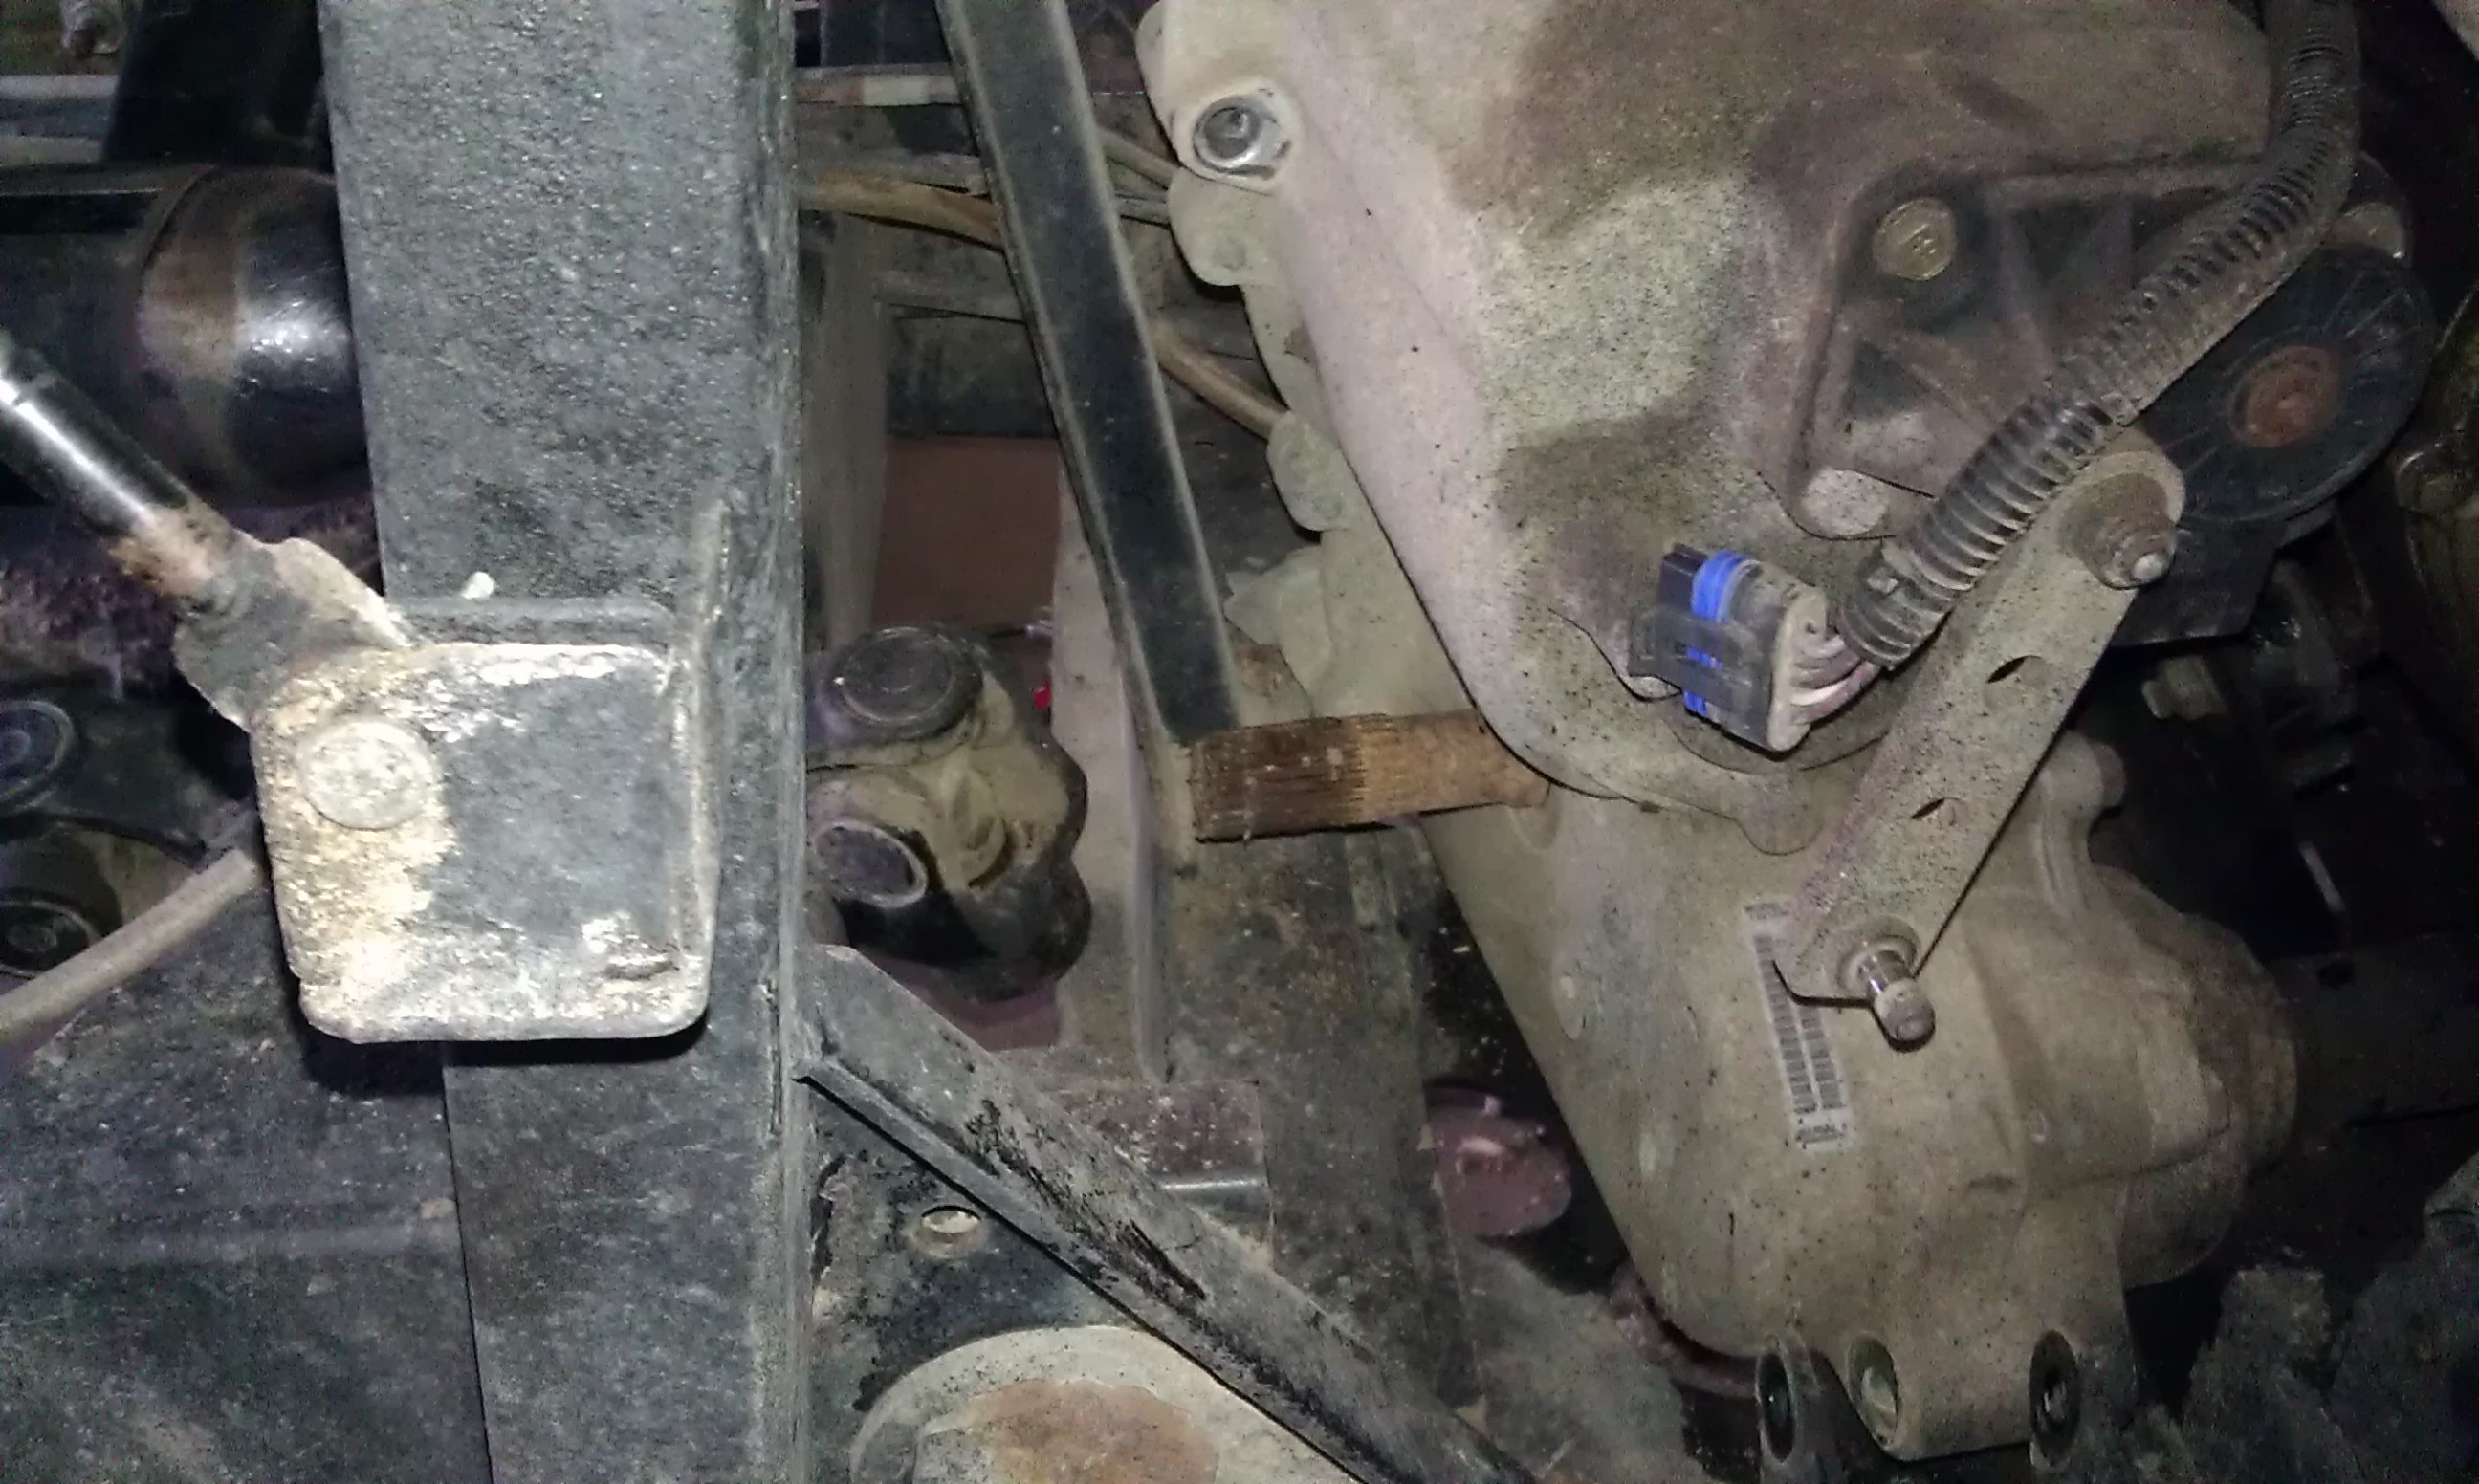 |
Then the gearbox was moved forward to release the rear U joint from the output shaft. |
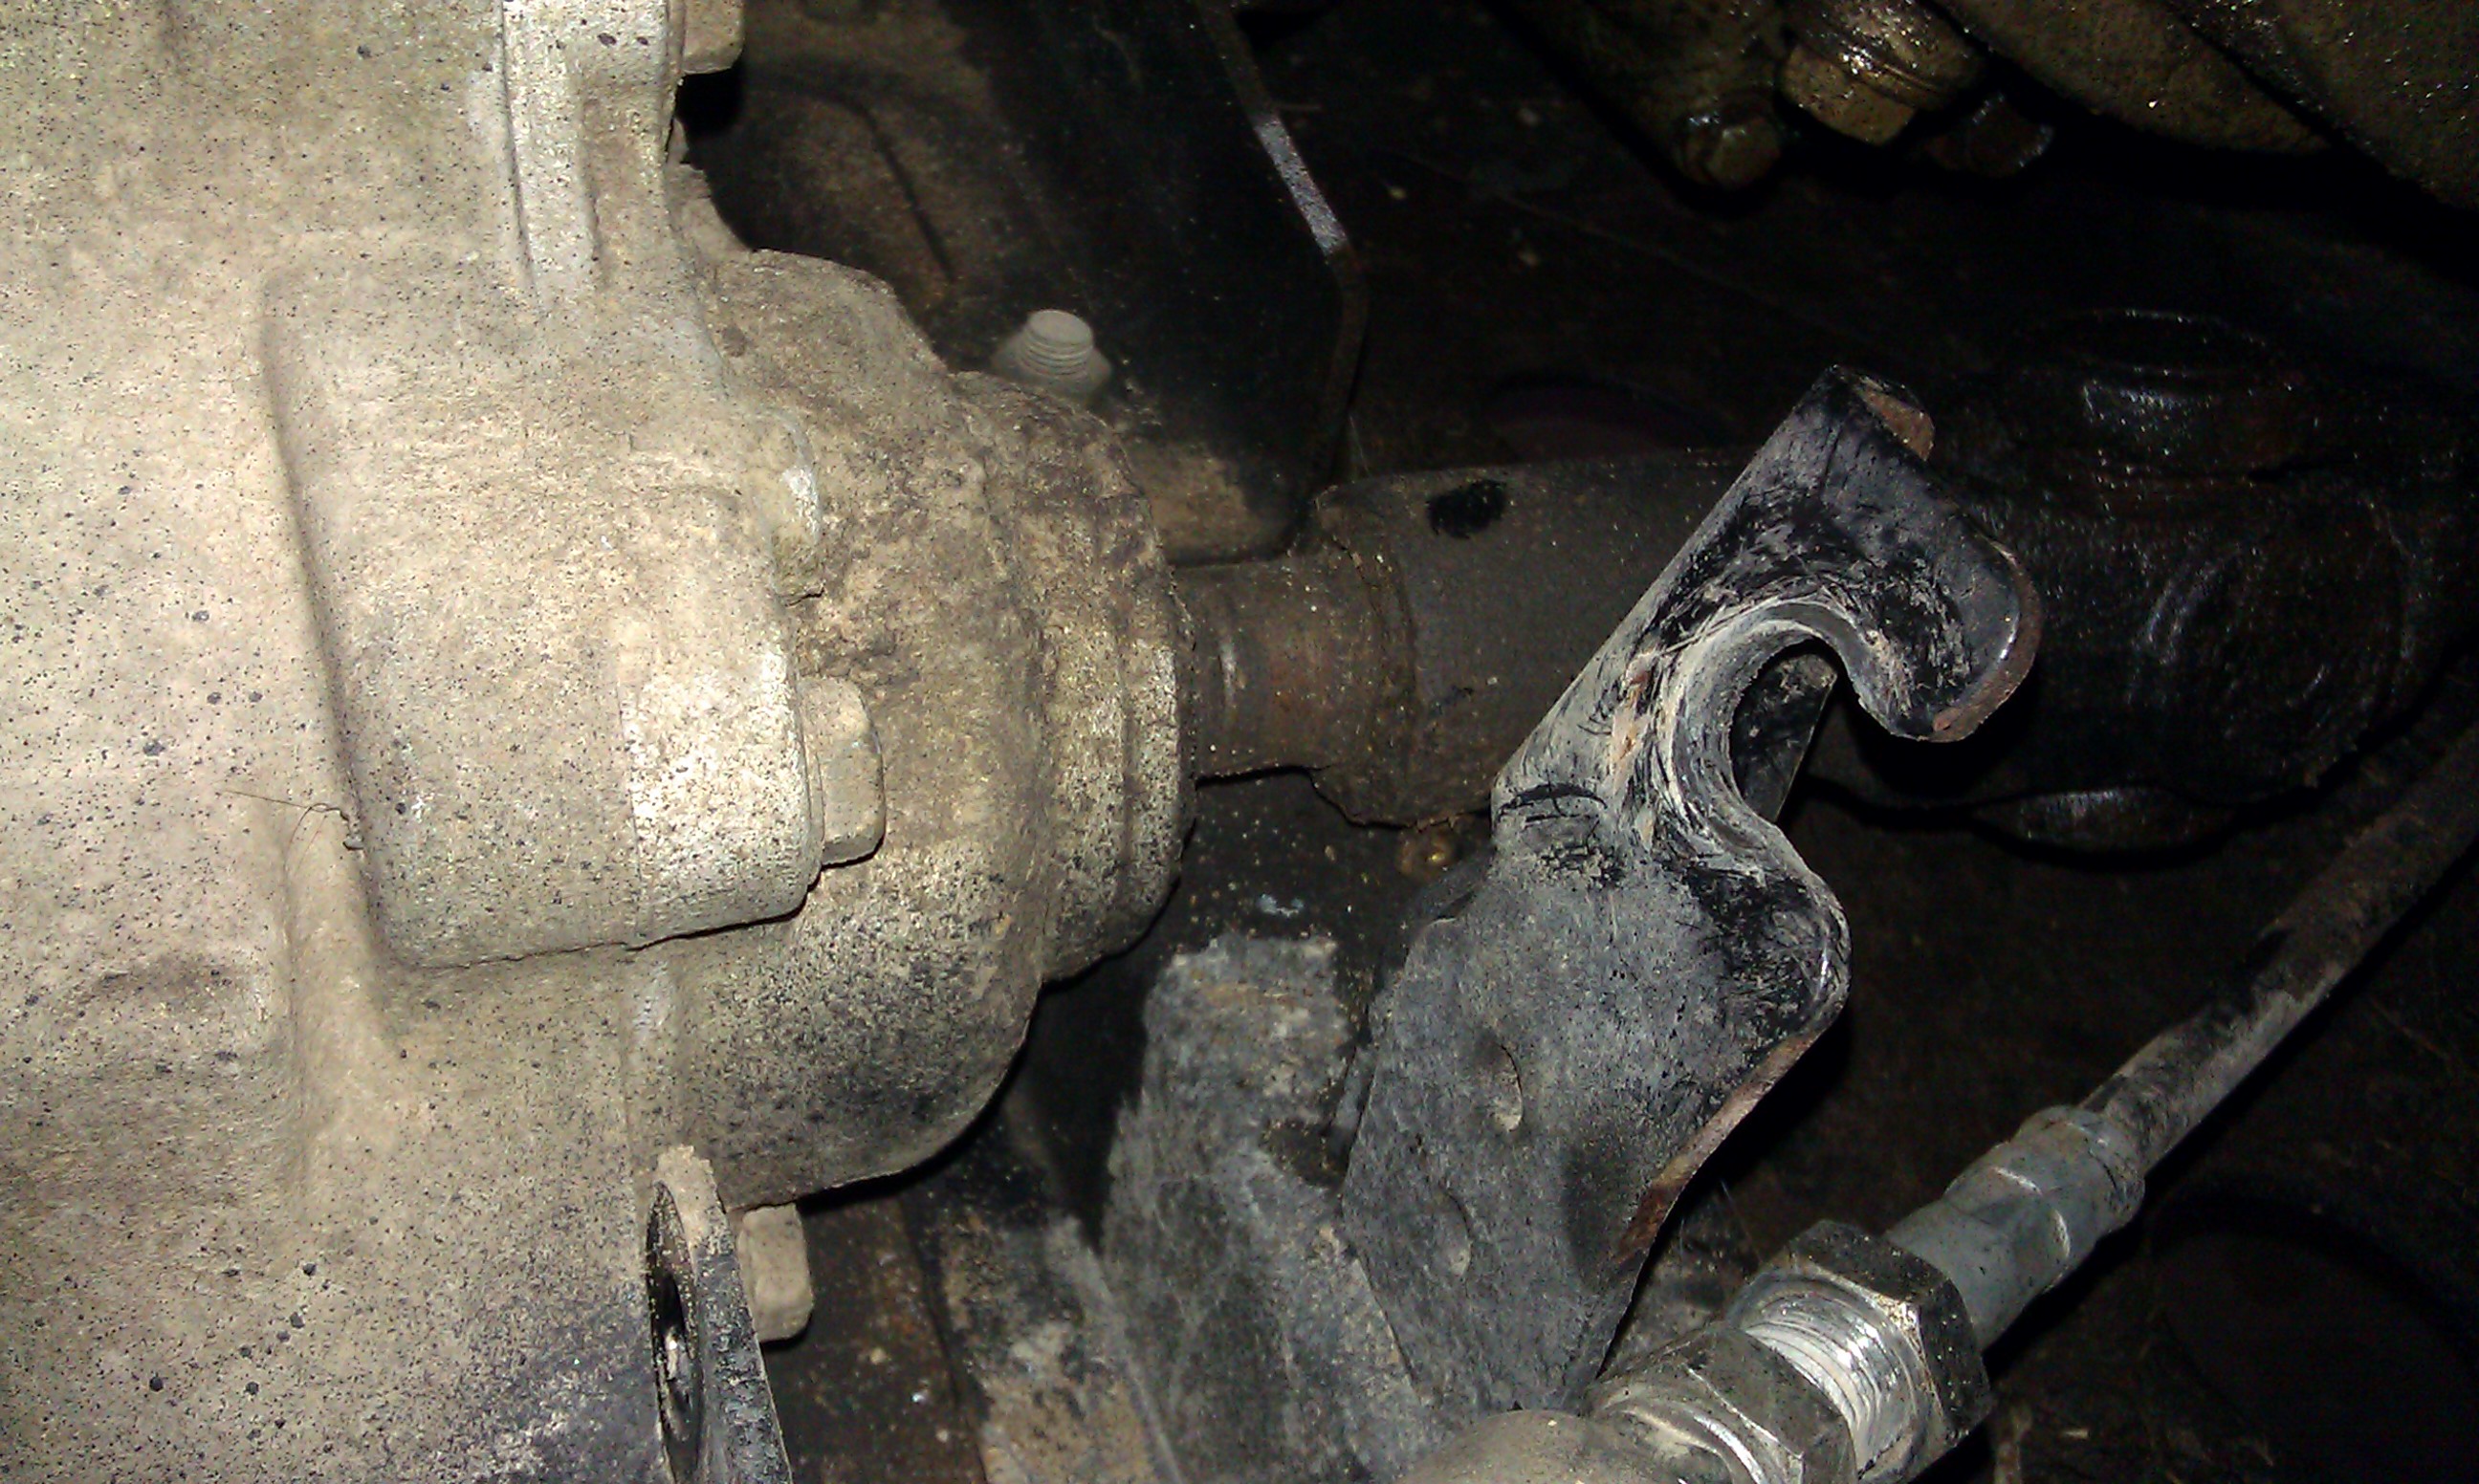 |
The front driveshaft was sprayed with penitrating oil to aid in removal |
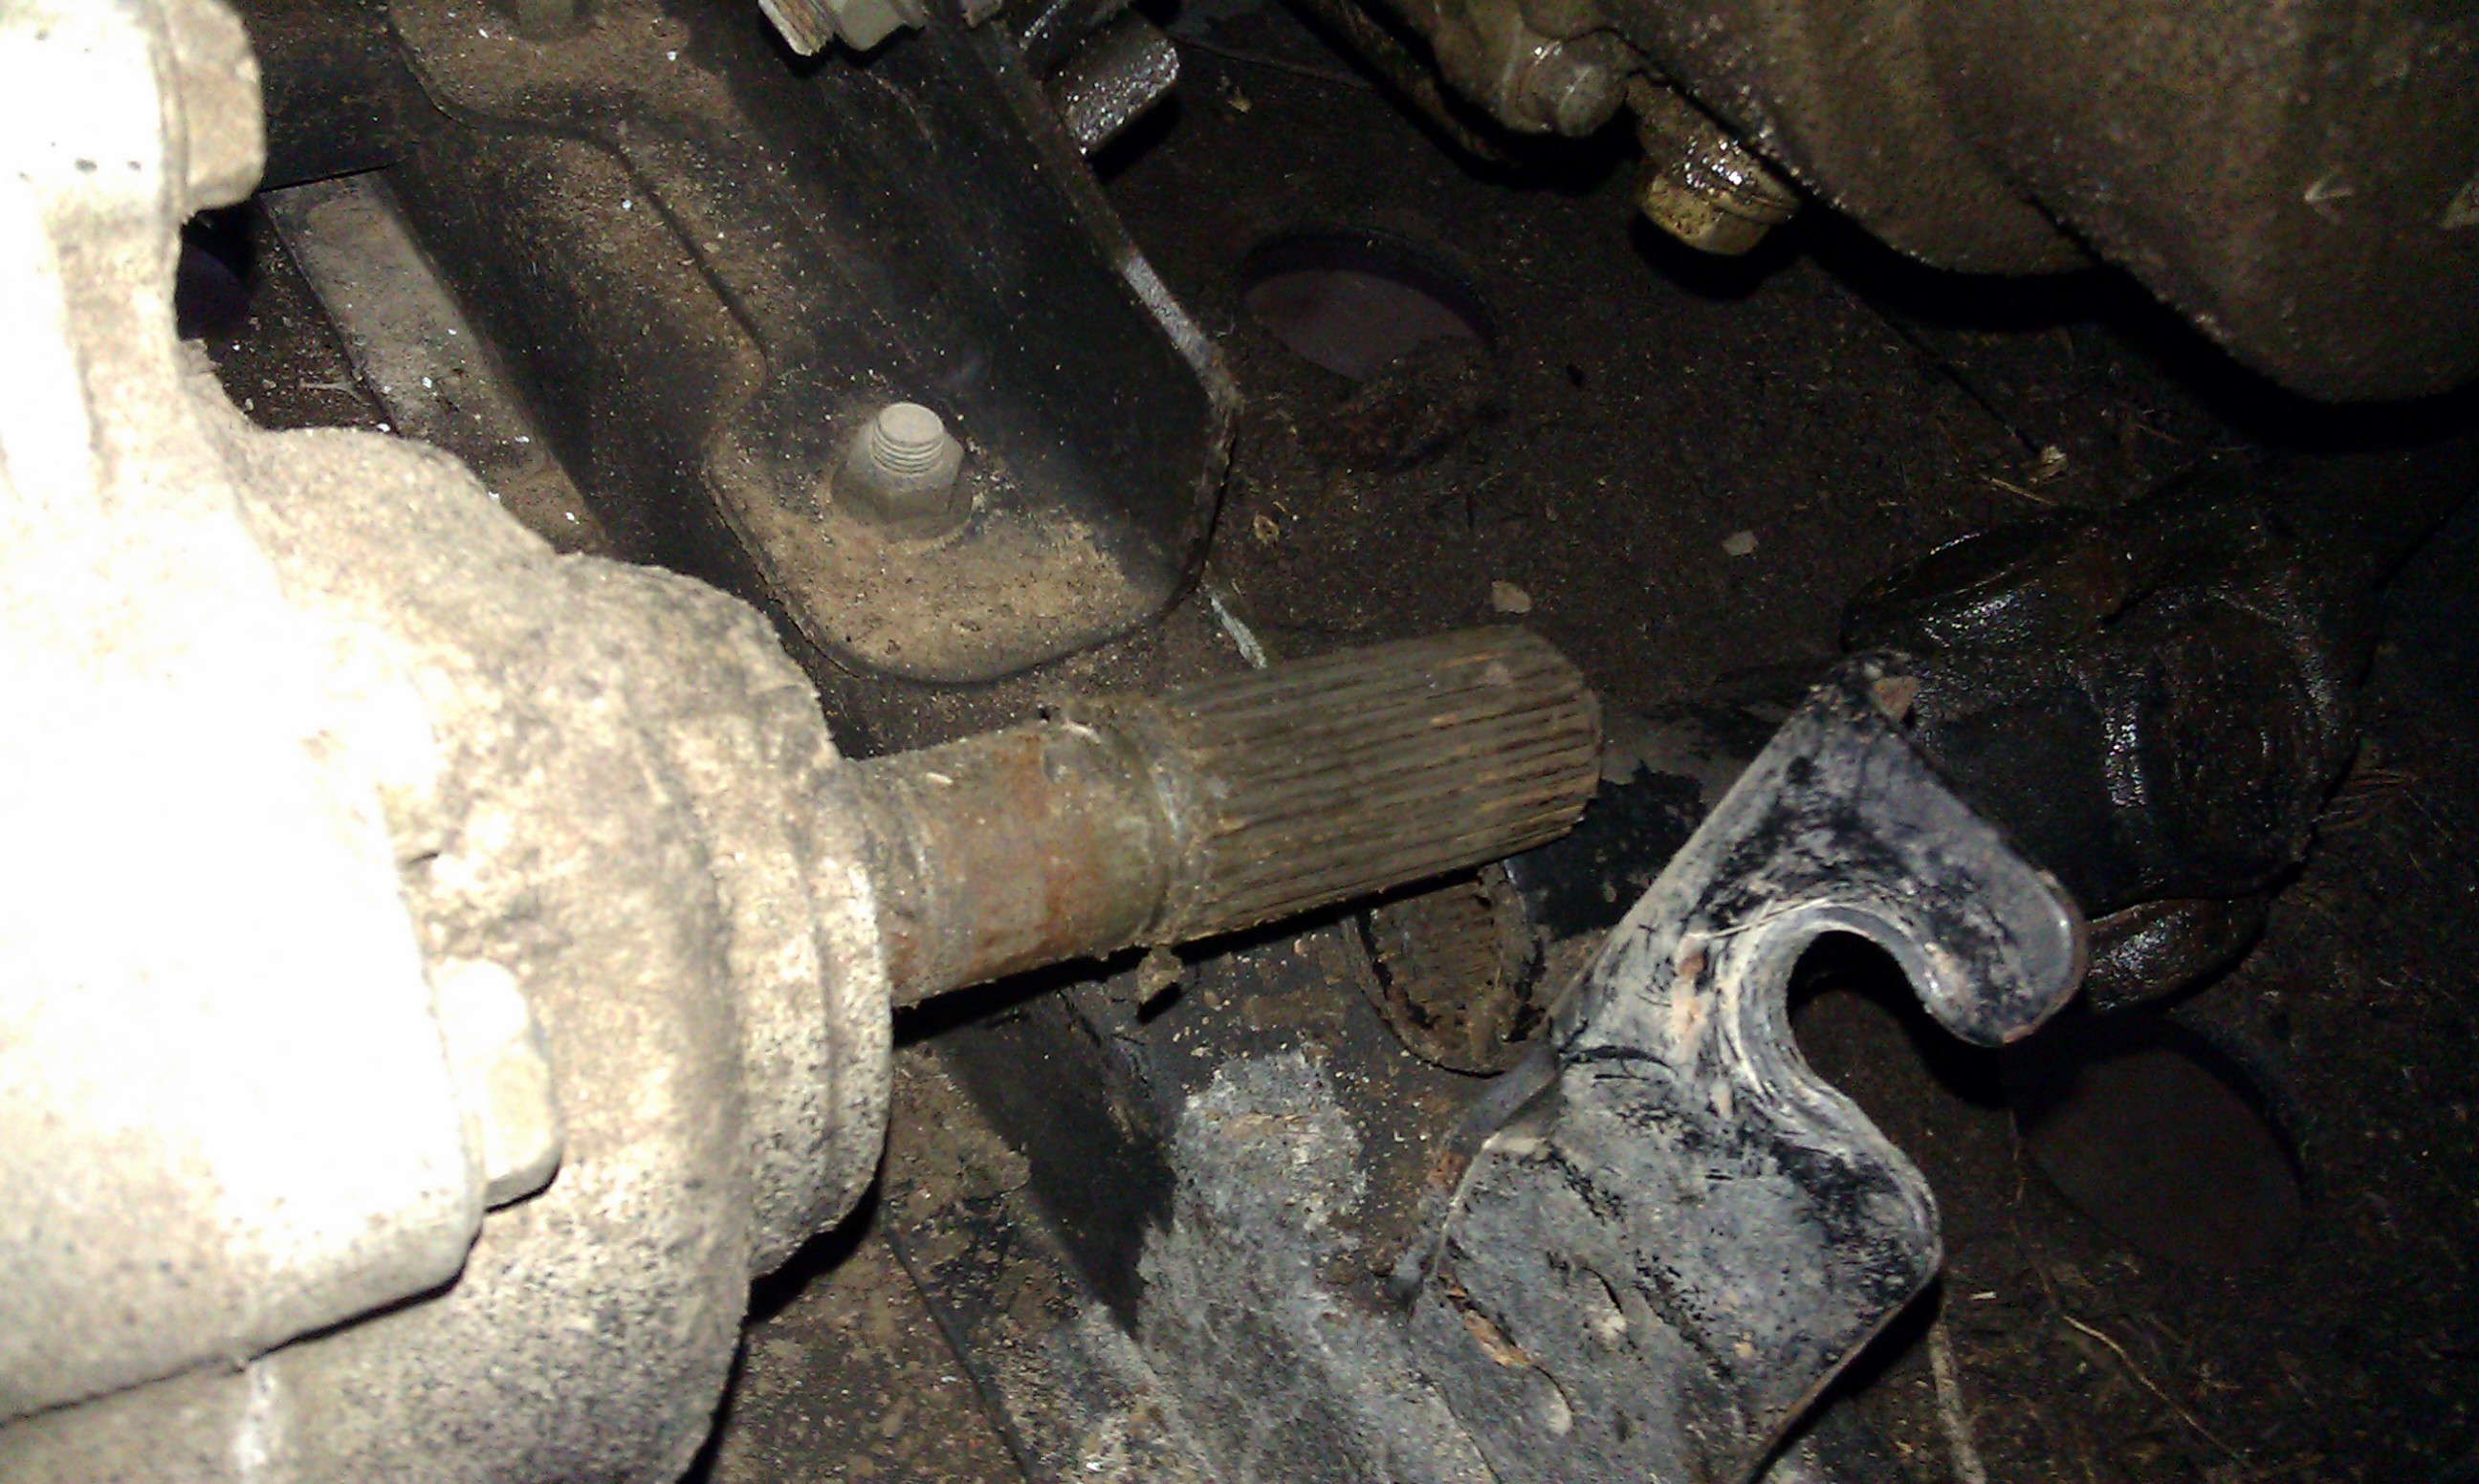 |
The gearbox was moved back toward the rear to remove the front U joint from the output shaft. |
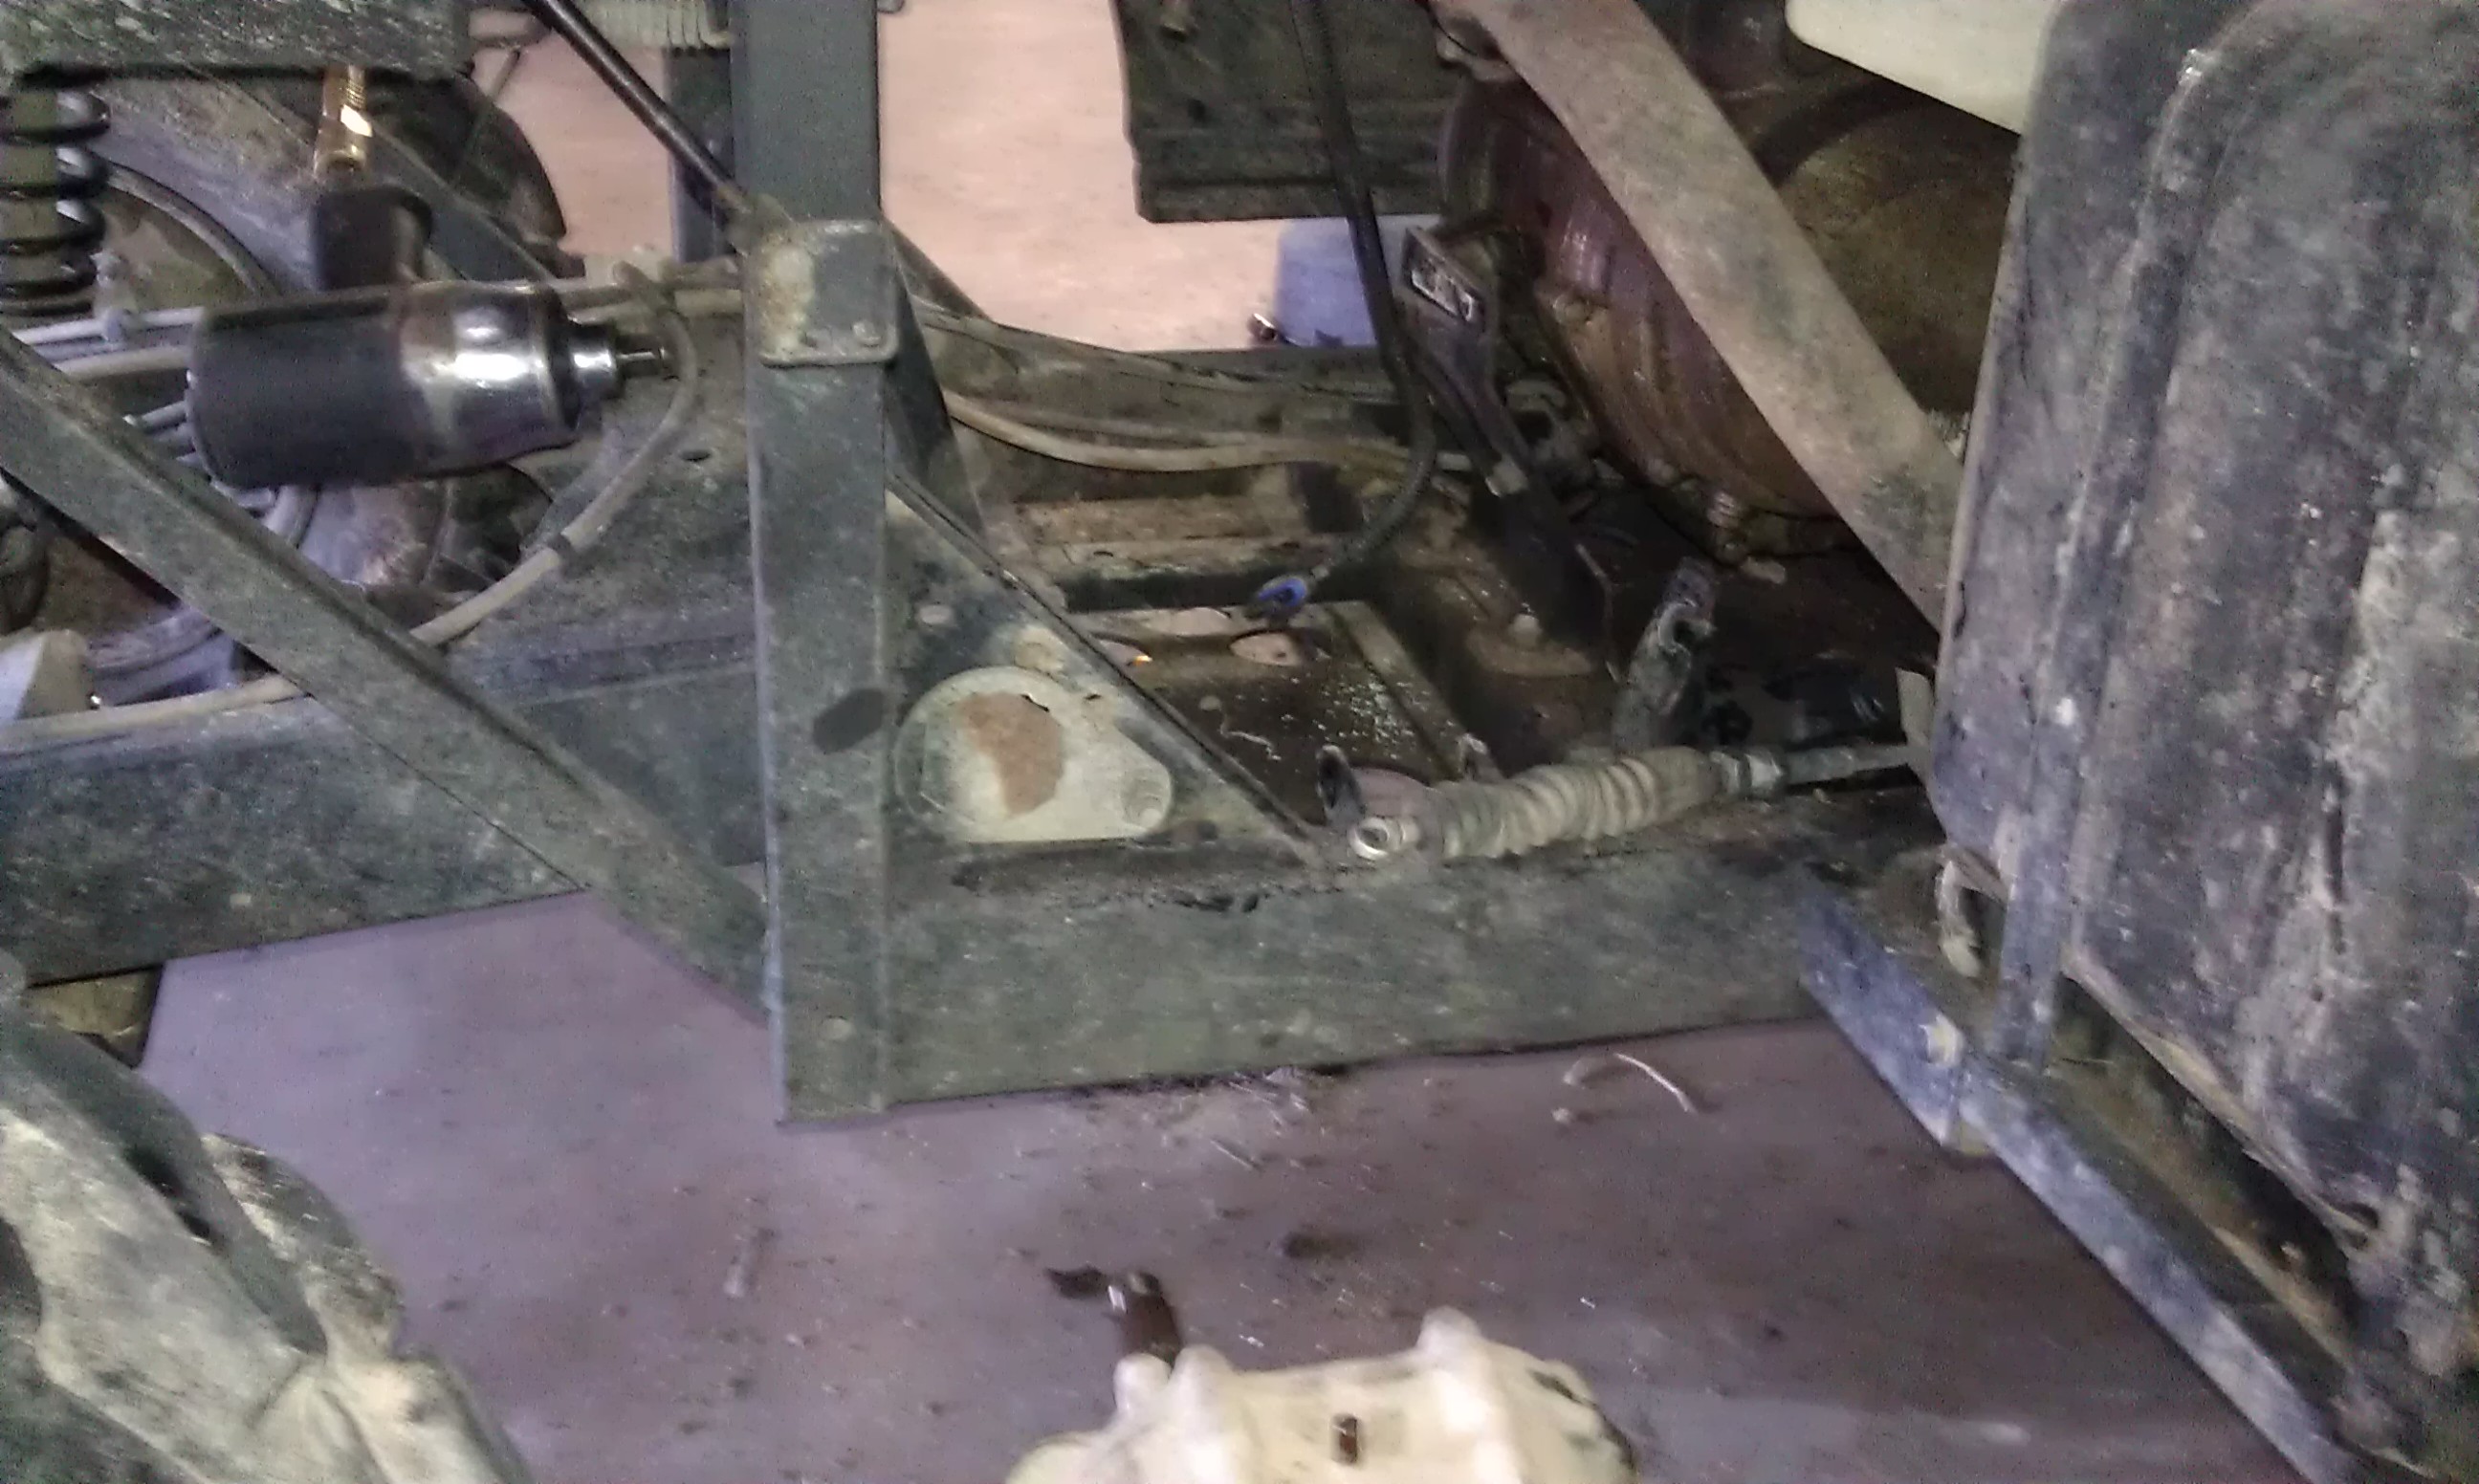 |
The gearbox was twisted slightly to exit the right side of the Ranger |
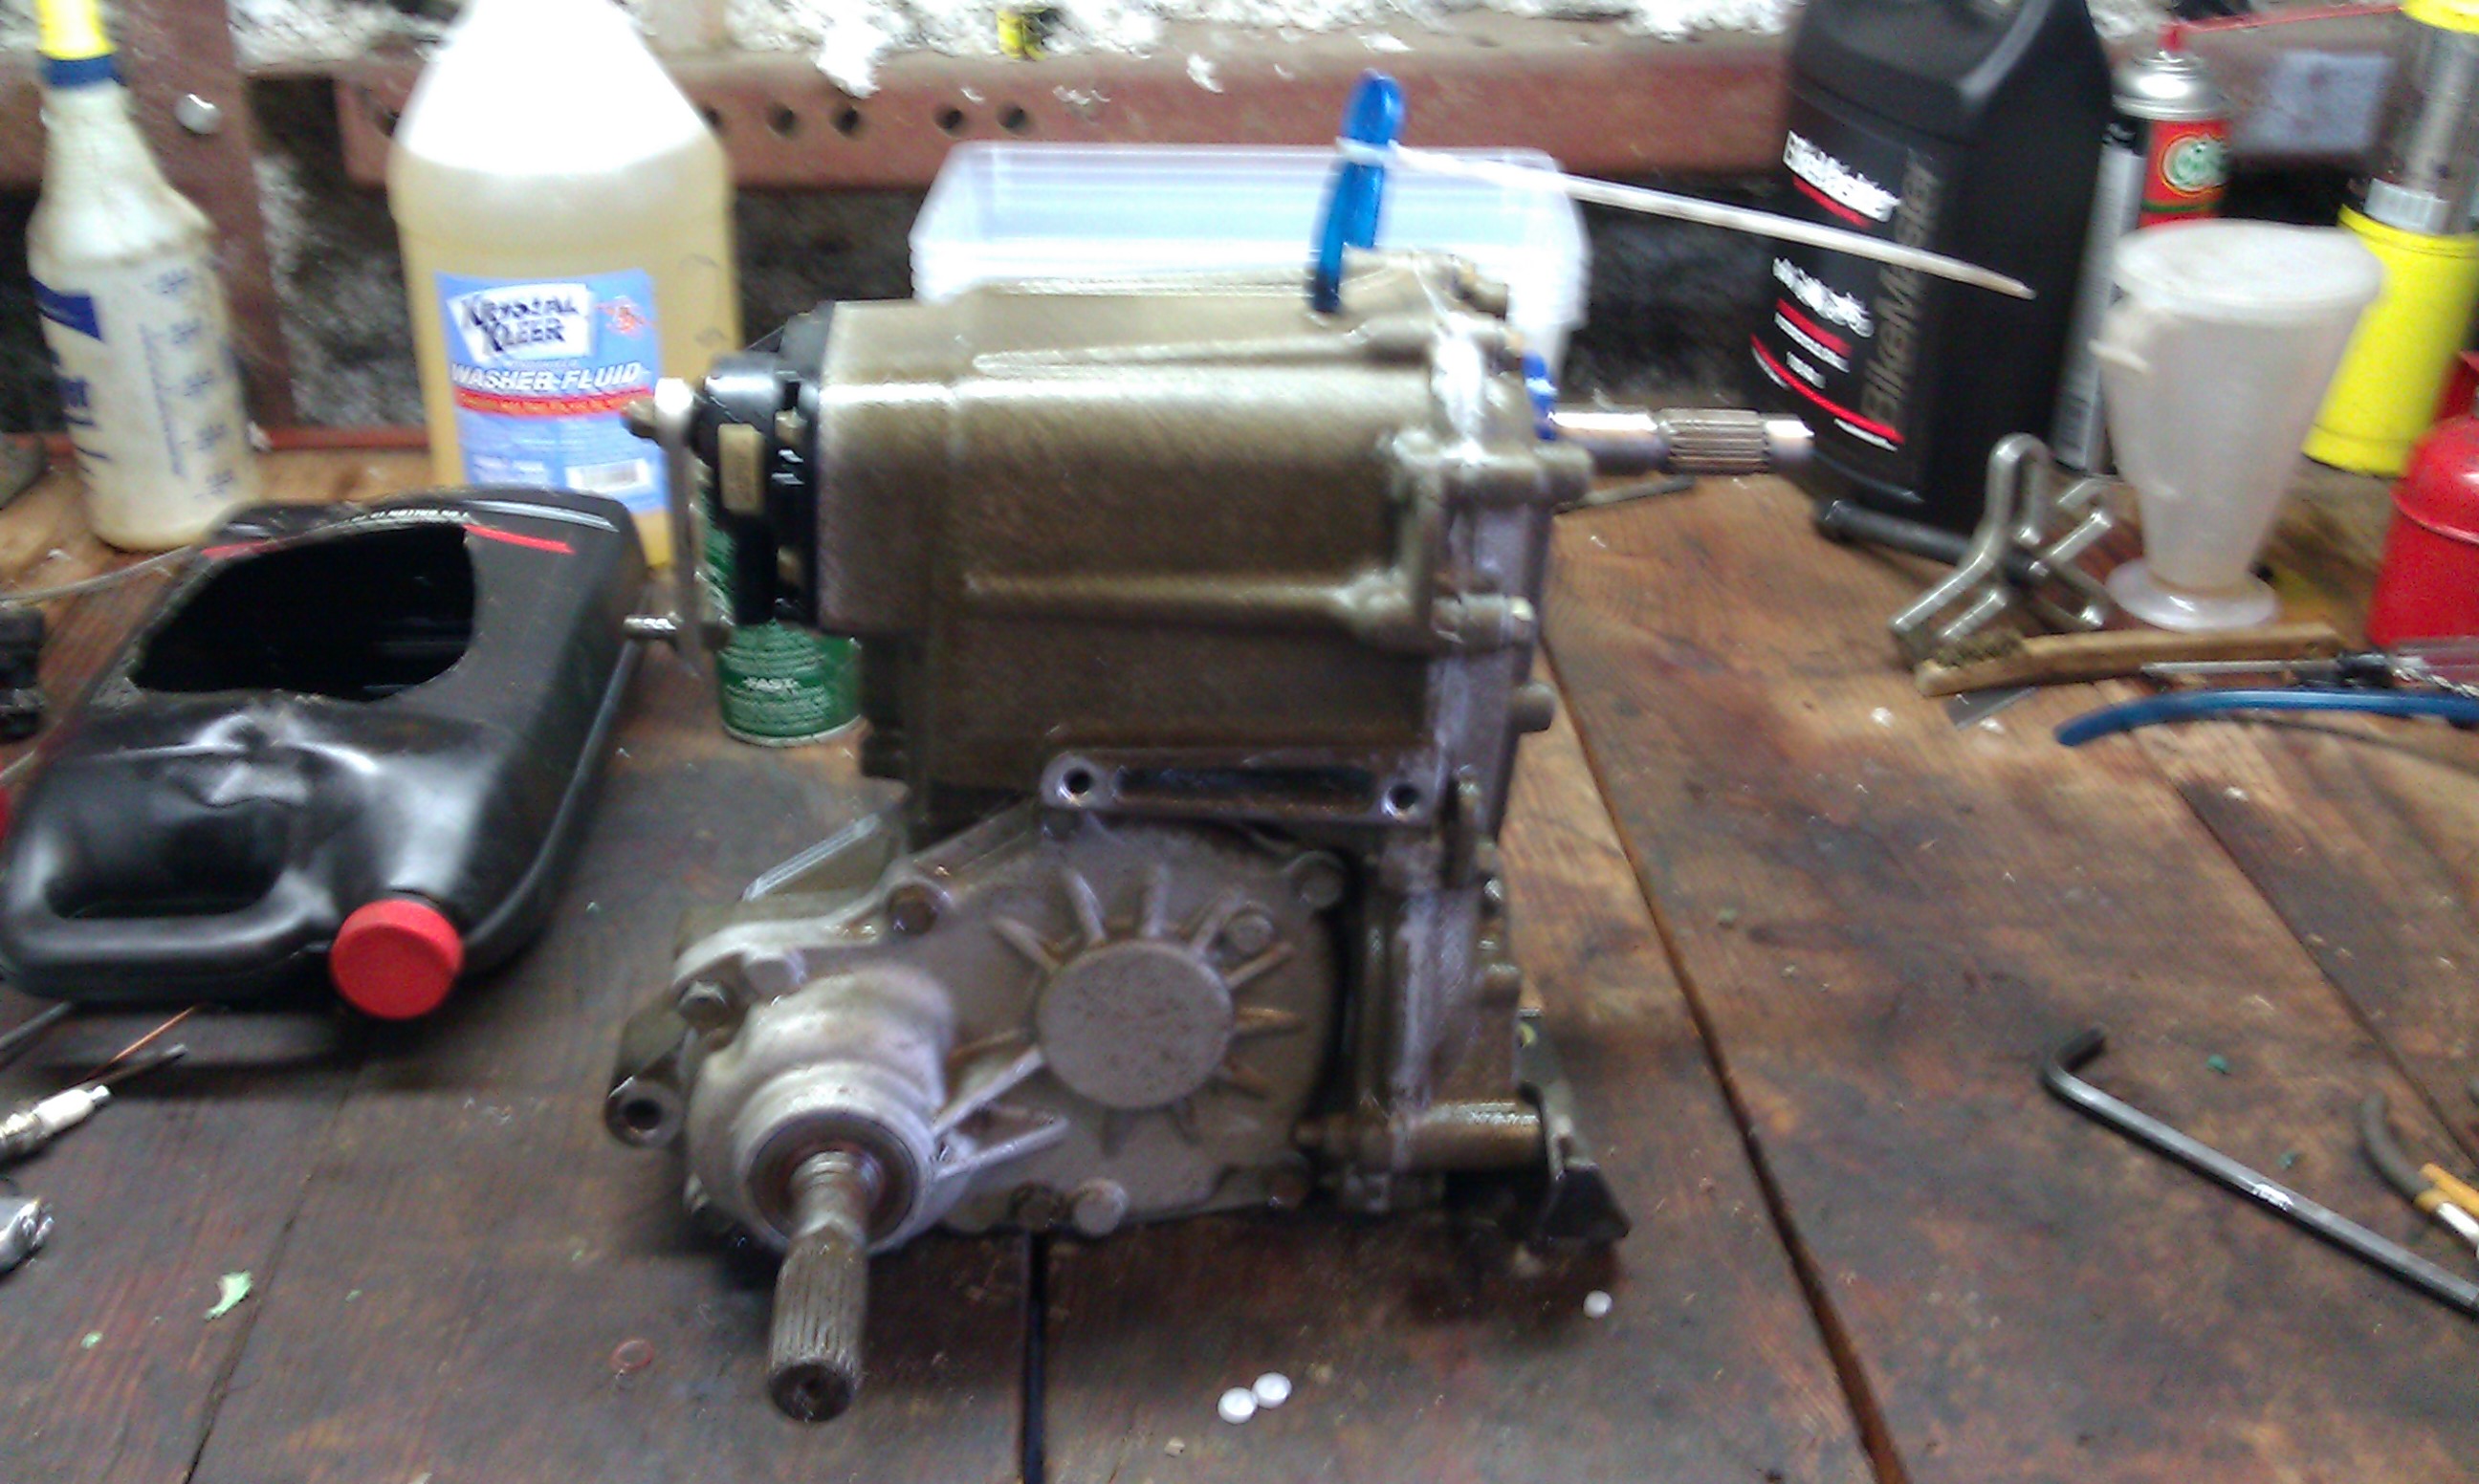 |
The gearbox was drained then sealed off with a peice of hose and pressure washed to remove all the dirt and grease from the outside, this must be done just before dissasembly in case water gets in. |
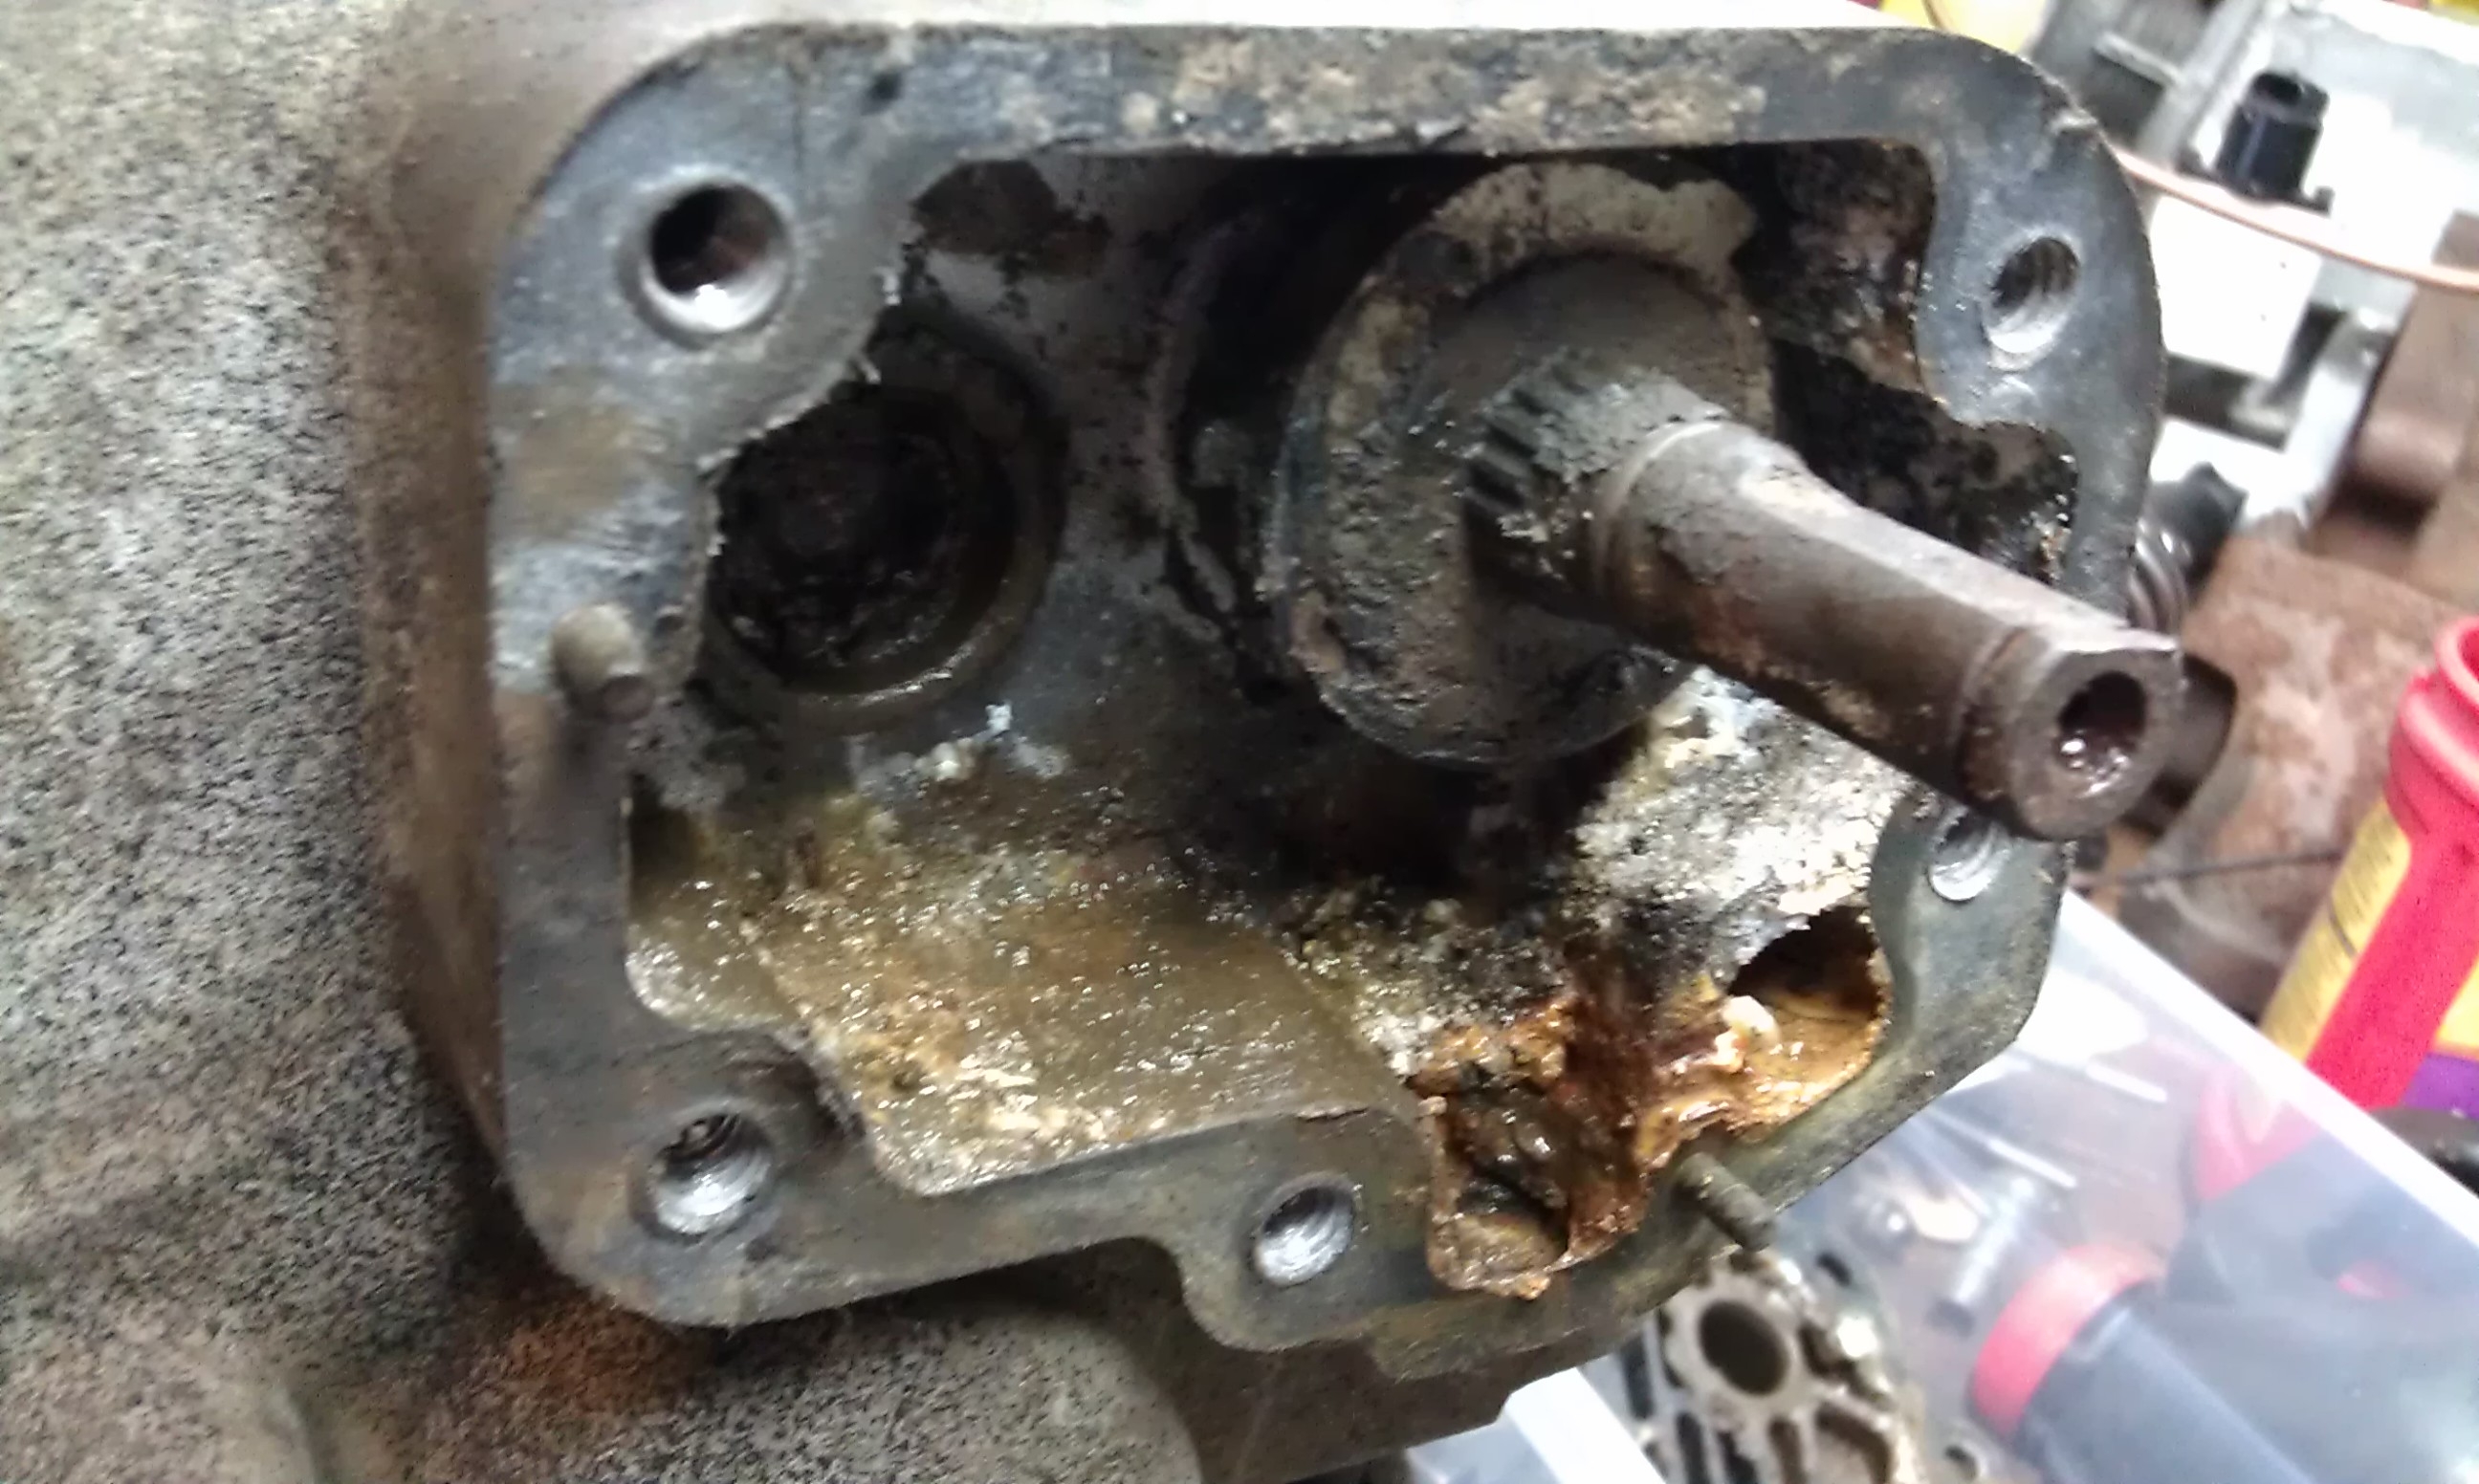 |
This was the cause of the internal faiure, moisture got in to the internal shift mechanism causing the detent to rust and fail to firmly hold gear position. This will be rectified by cleaning and resealing the shift cover. |
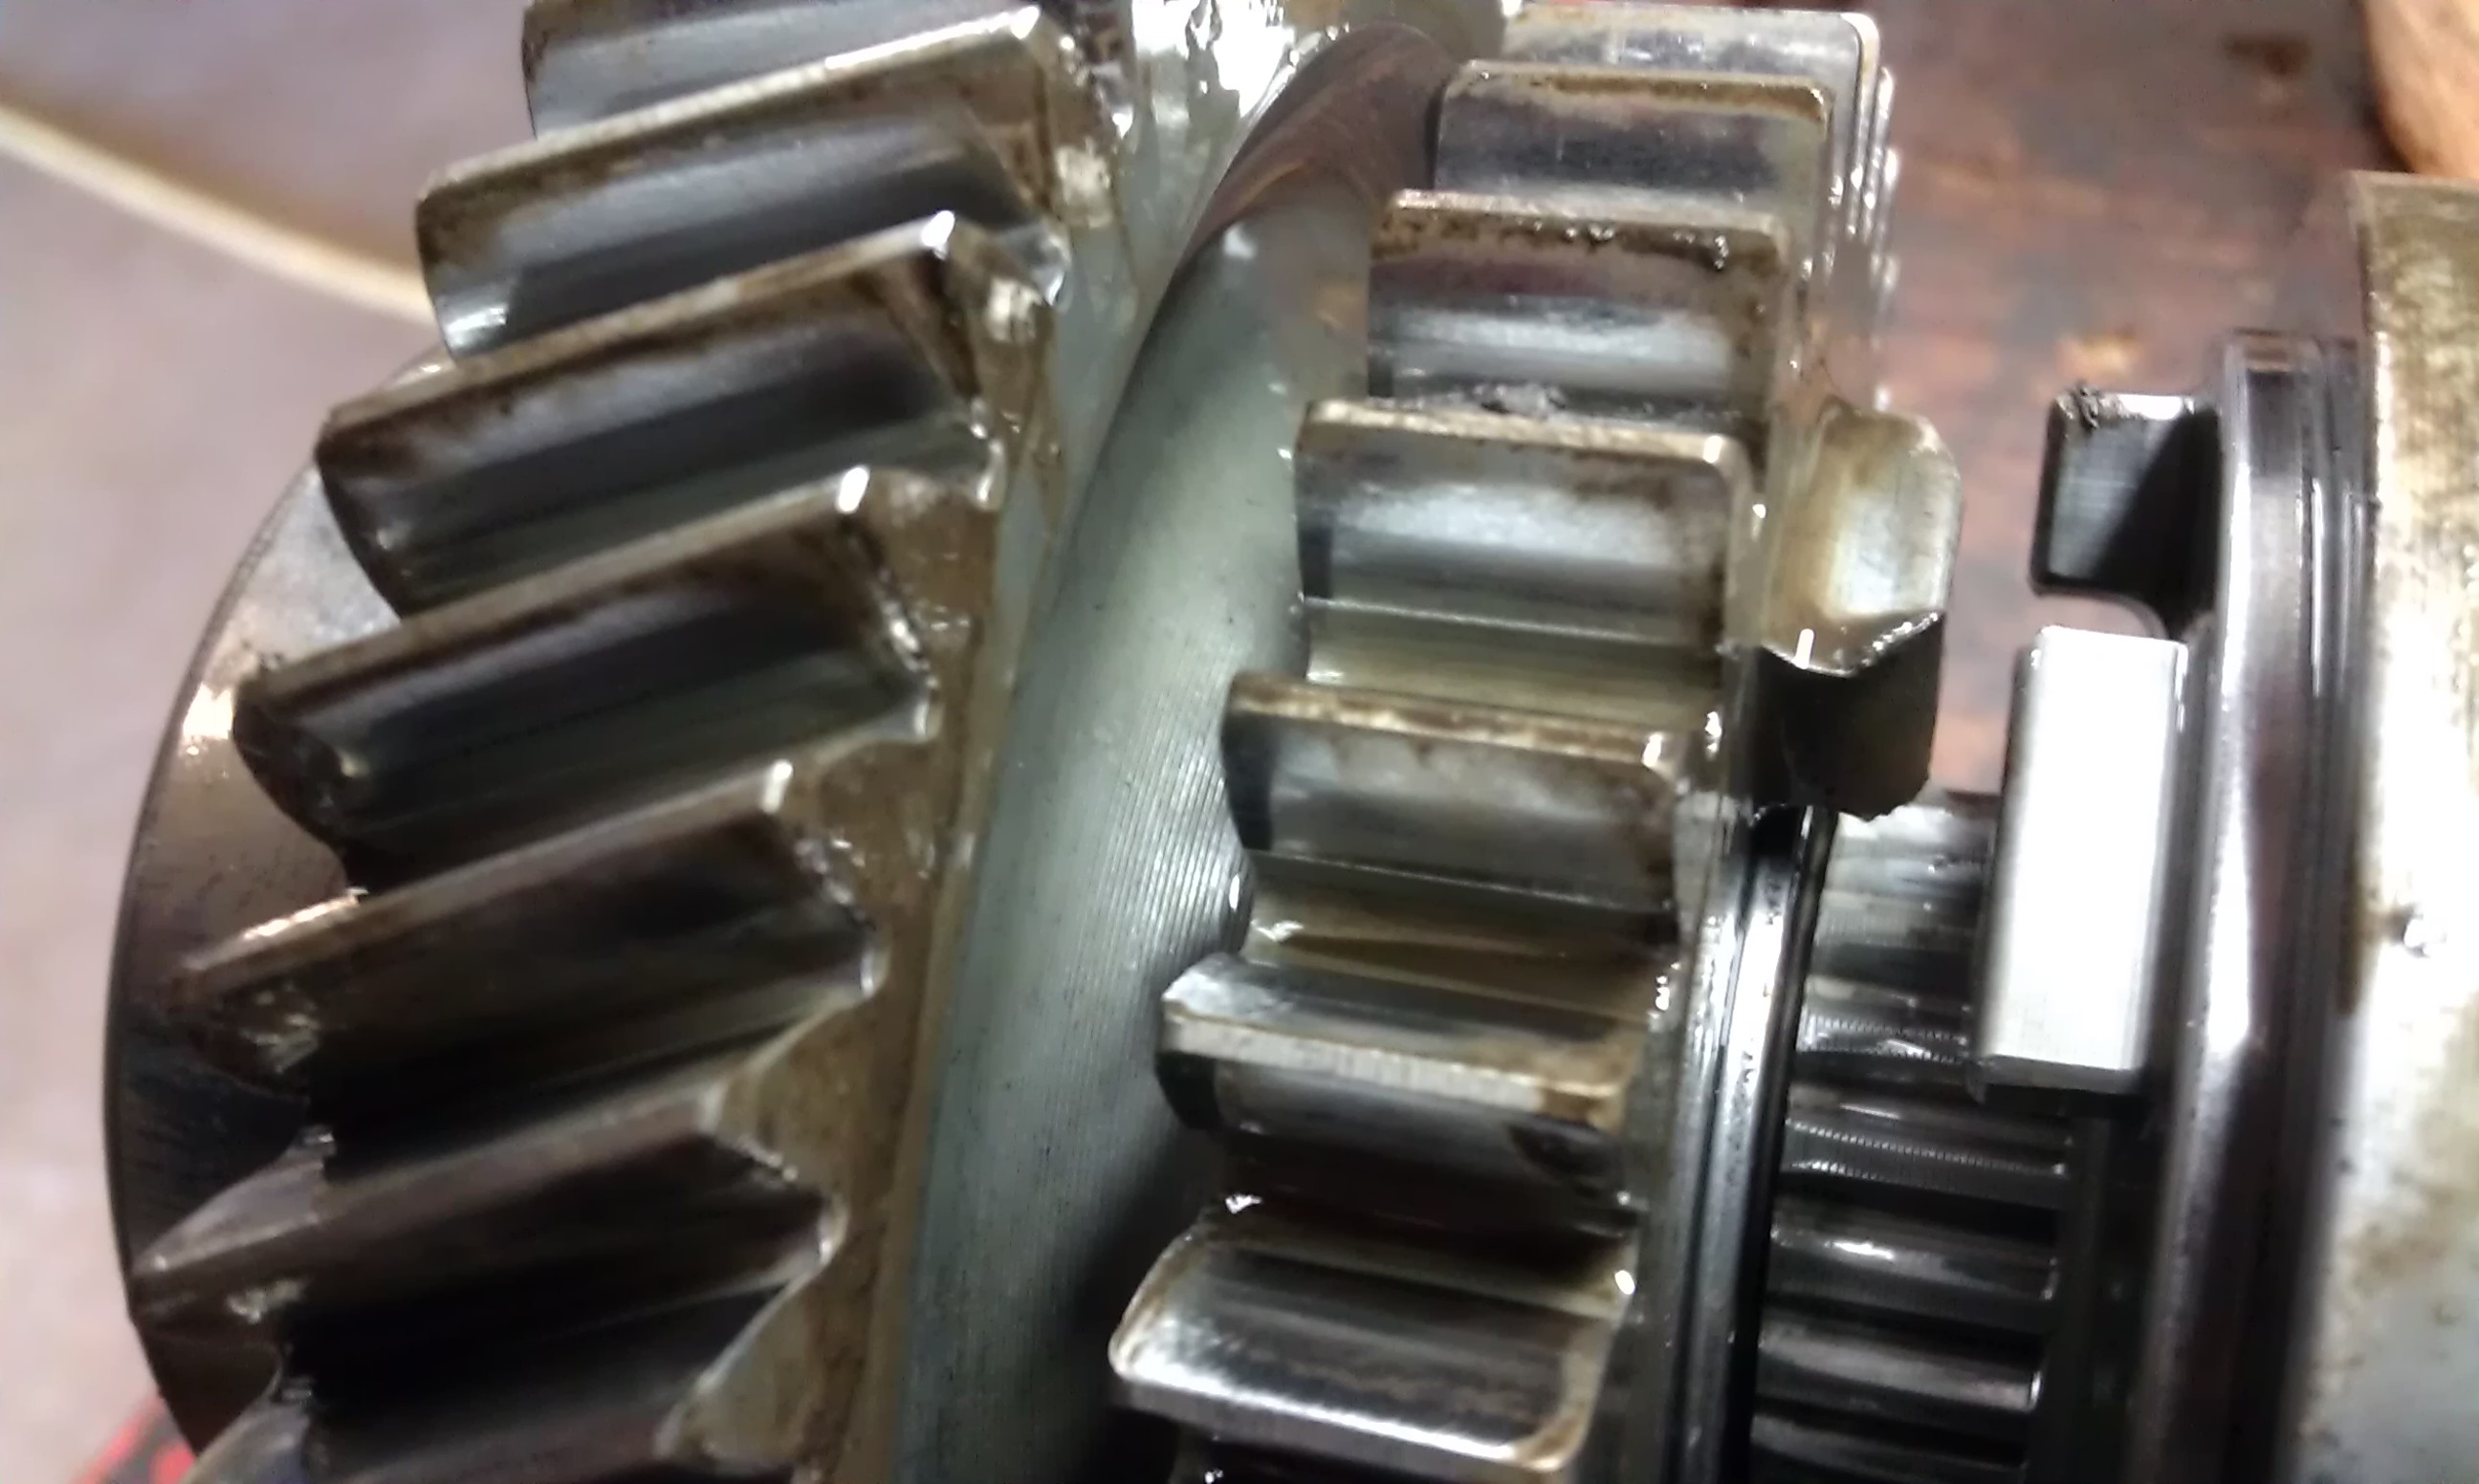 |
This is the internal problem caused by the shift mechanism. The driven pawl on the high gear was stipped to a ramp shape causing it to kick out of gear and grind, the thrust face of the pawl should be tapered slightly toward the gear for positive engagement. |
